
Use Cron Jobs to run a website task on a schedule recommended by your application.
Log in to cPanel from your client area. If that link is unavailable, use the panel address in your welcome email. The cPanel dashboard appears after successful sign-in.
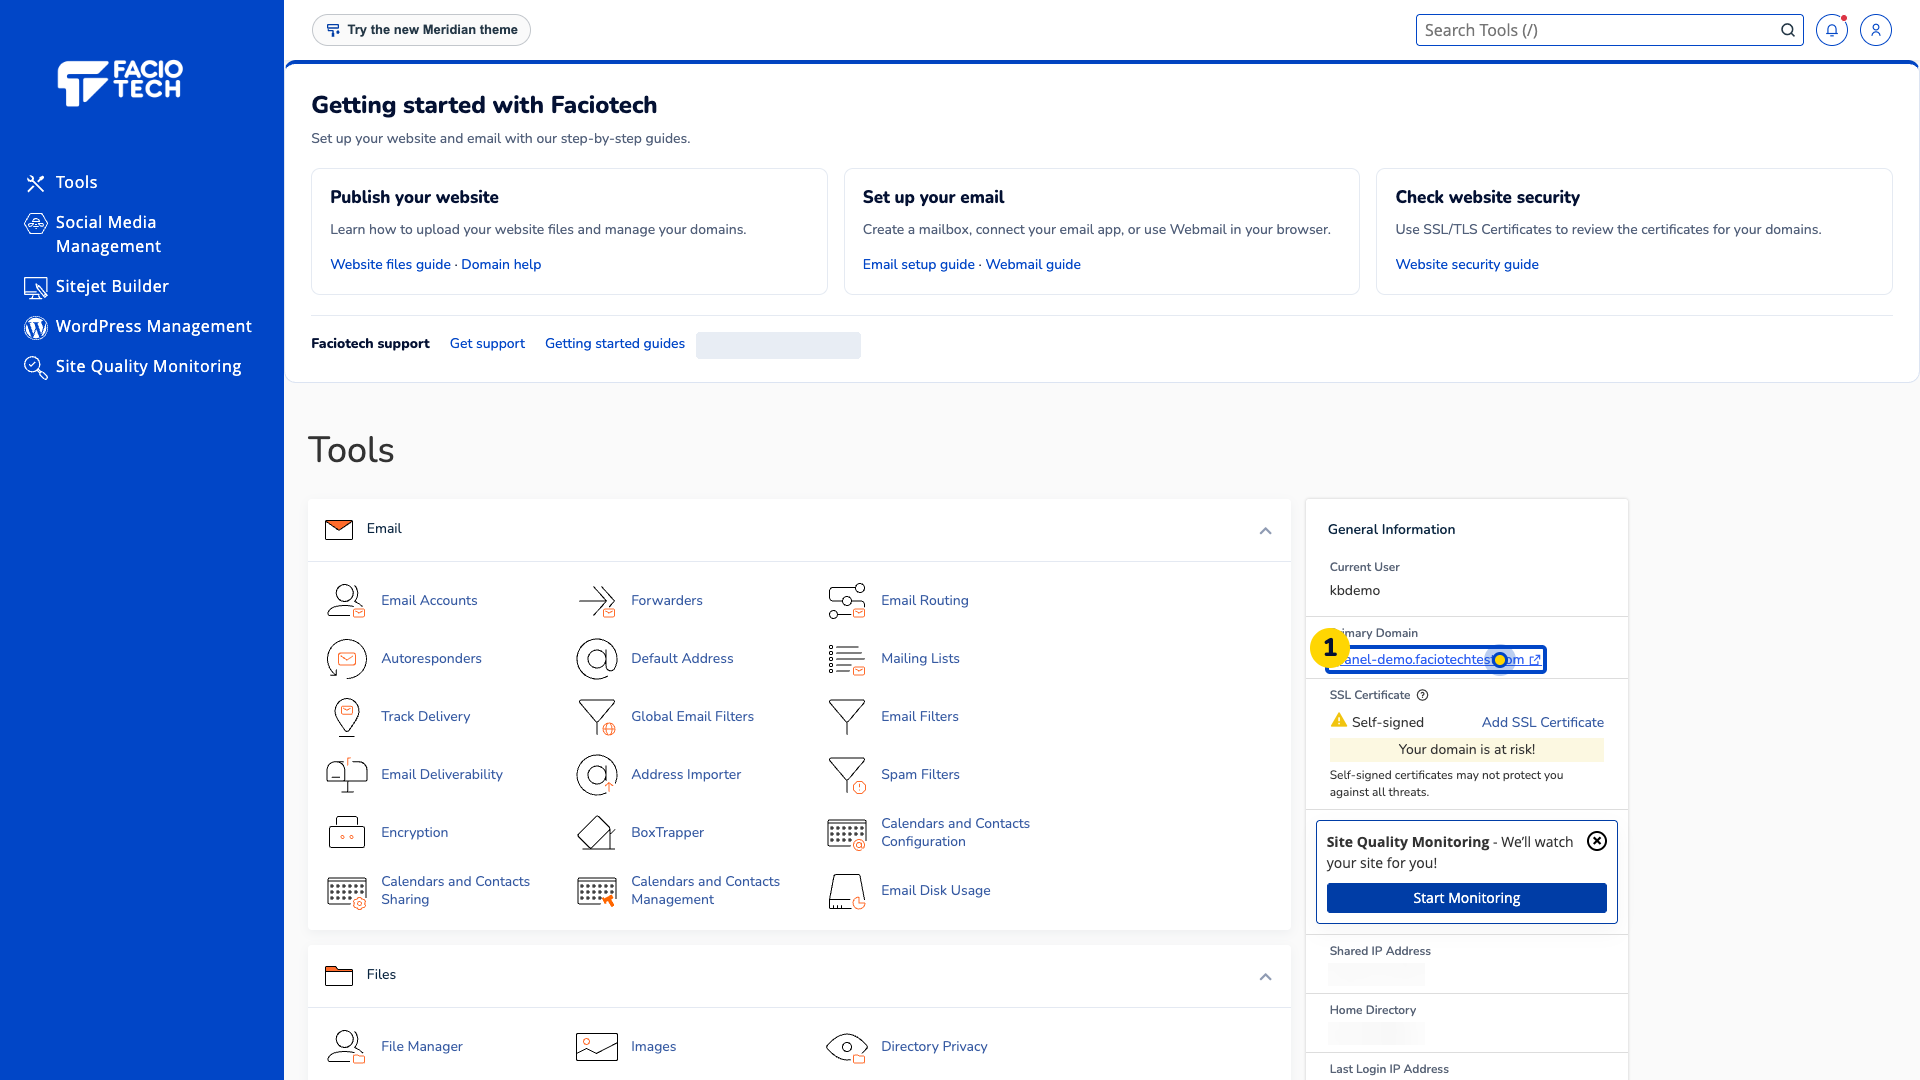
Open Cron Jobs from Tools. The scheduling page appears.
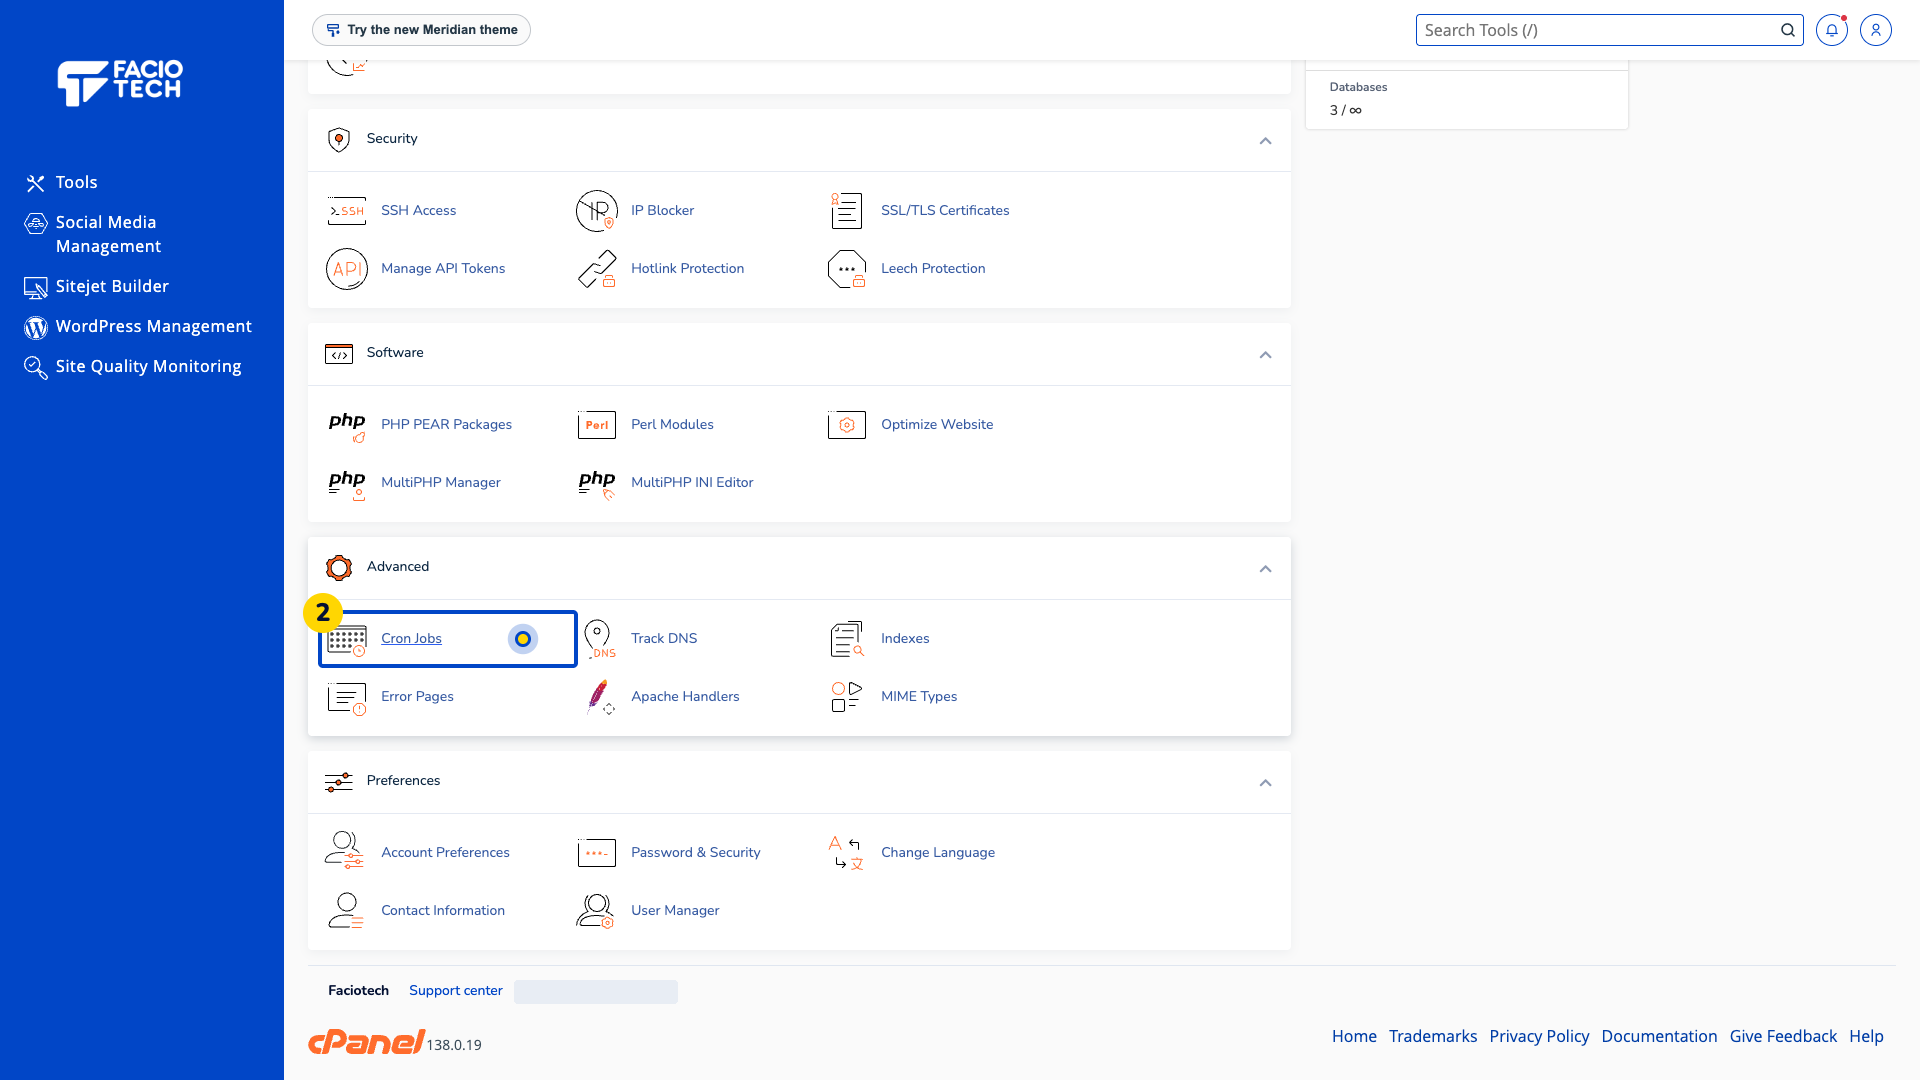
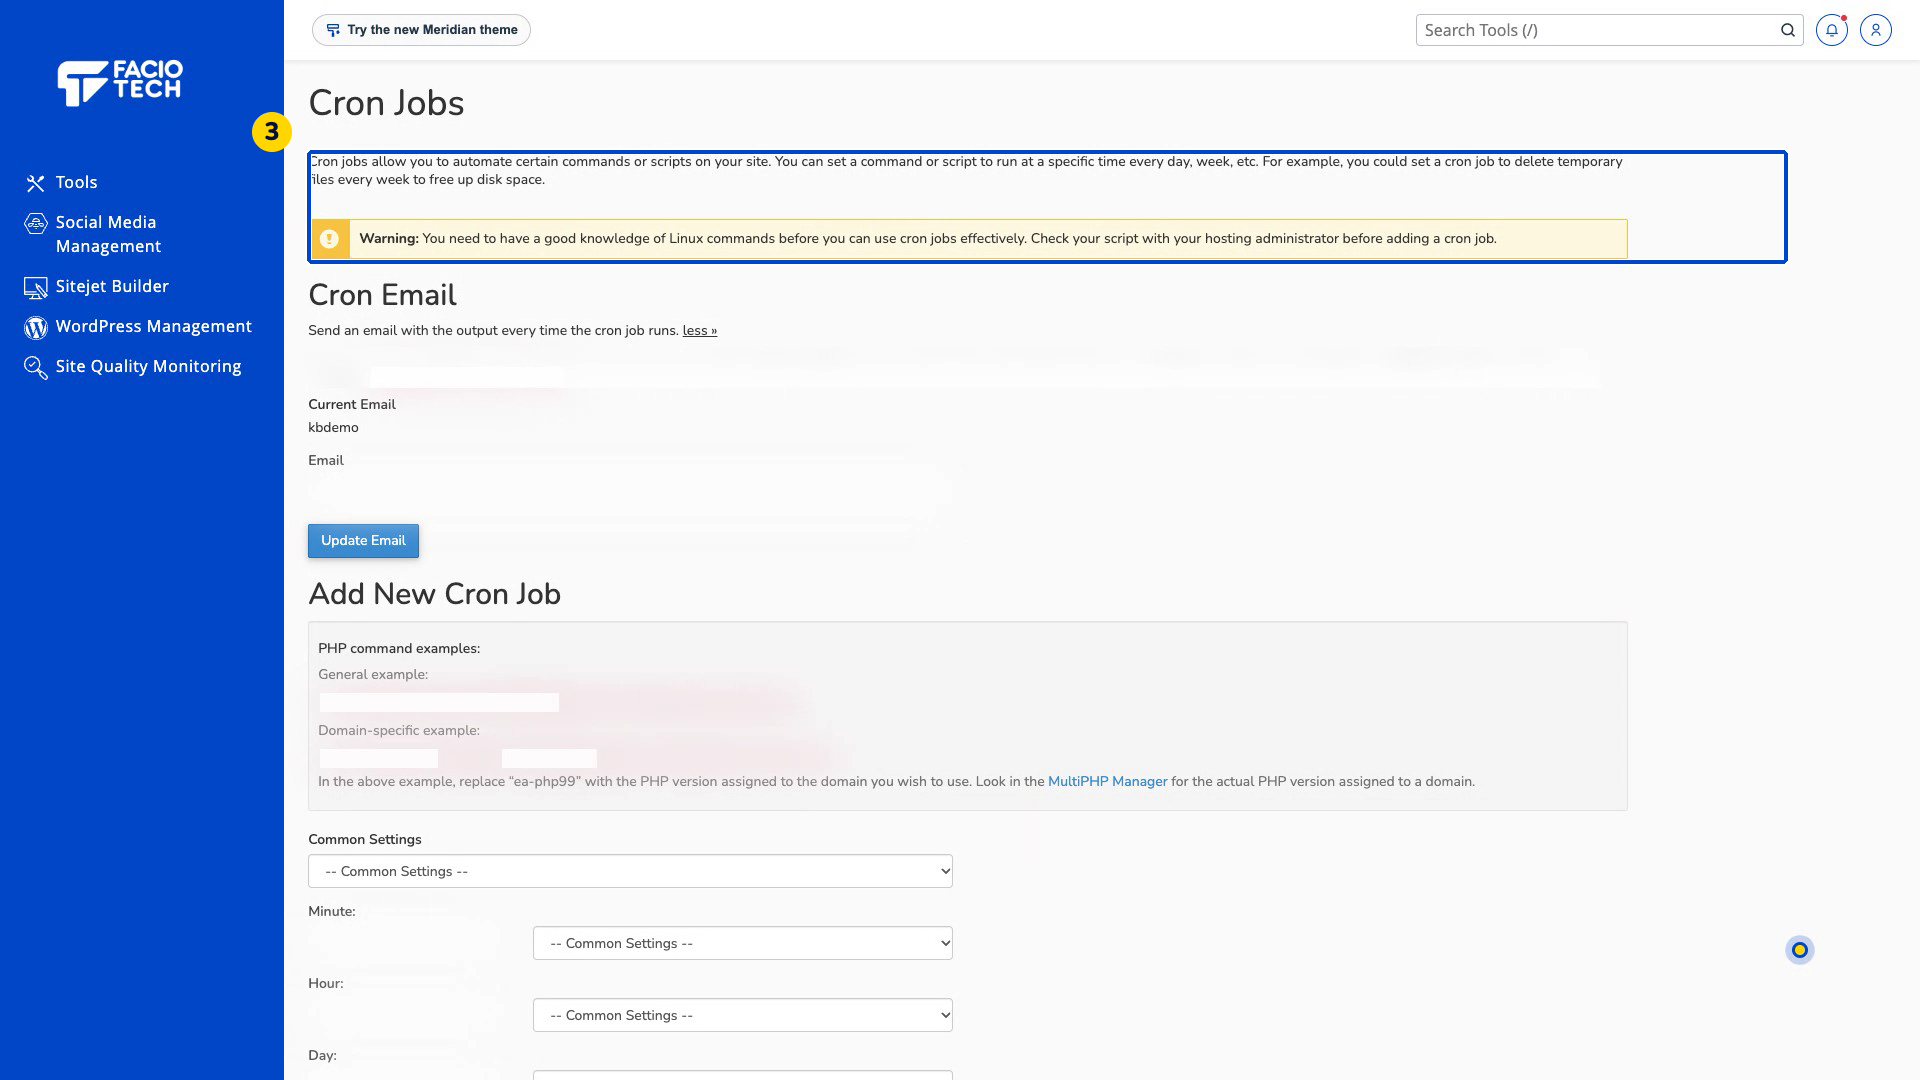
Read the page guidance. Check that you have the correct instructions for the task you want to schedule.
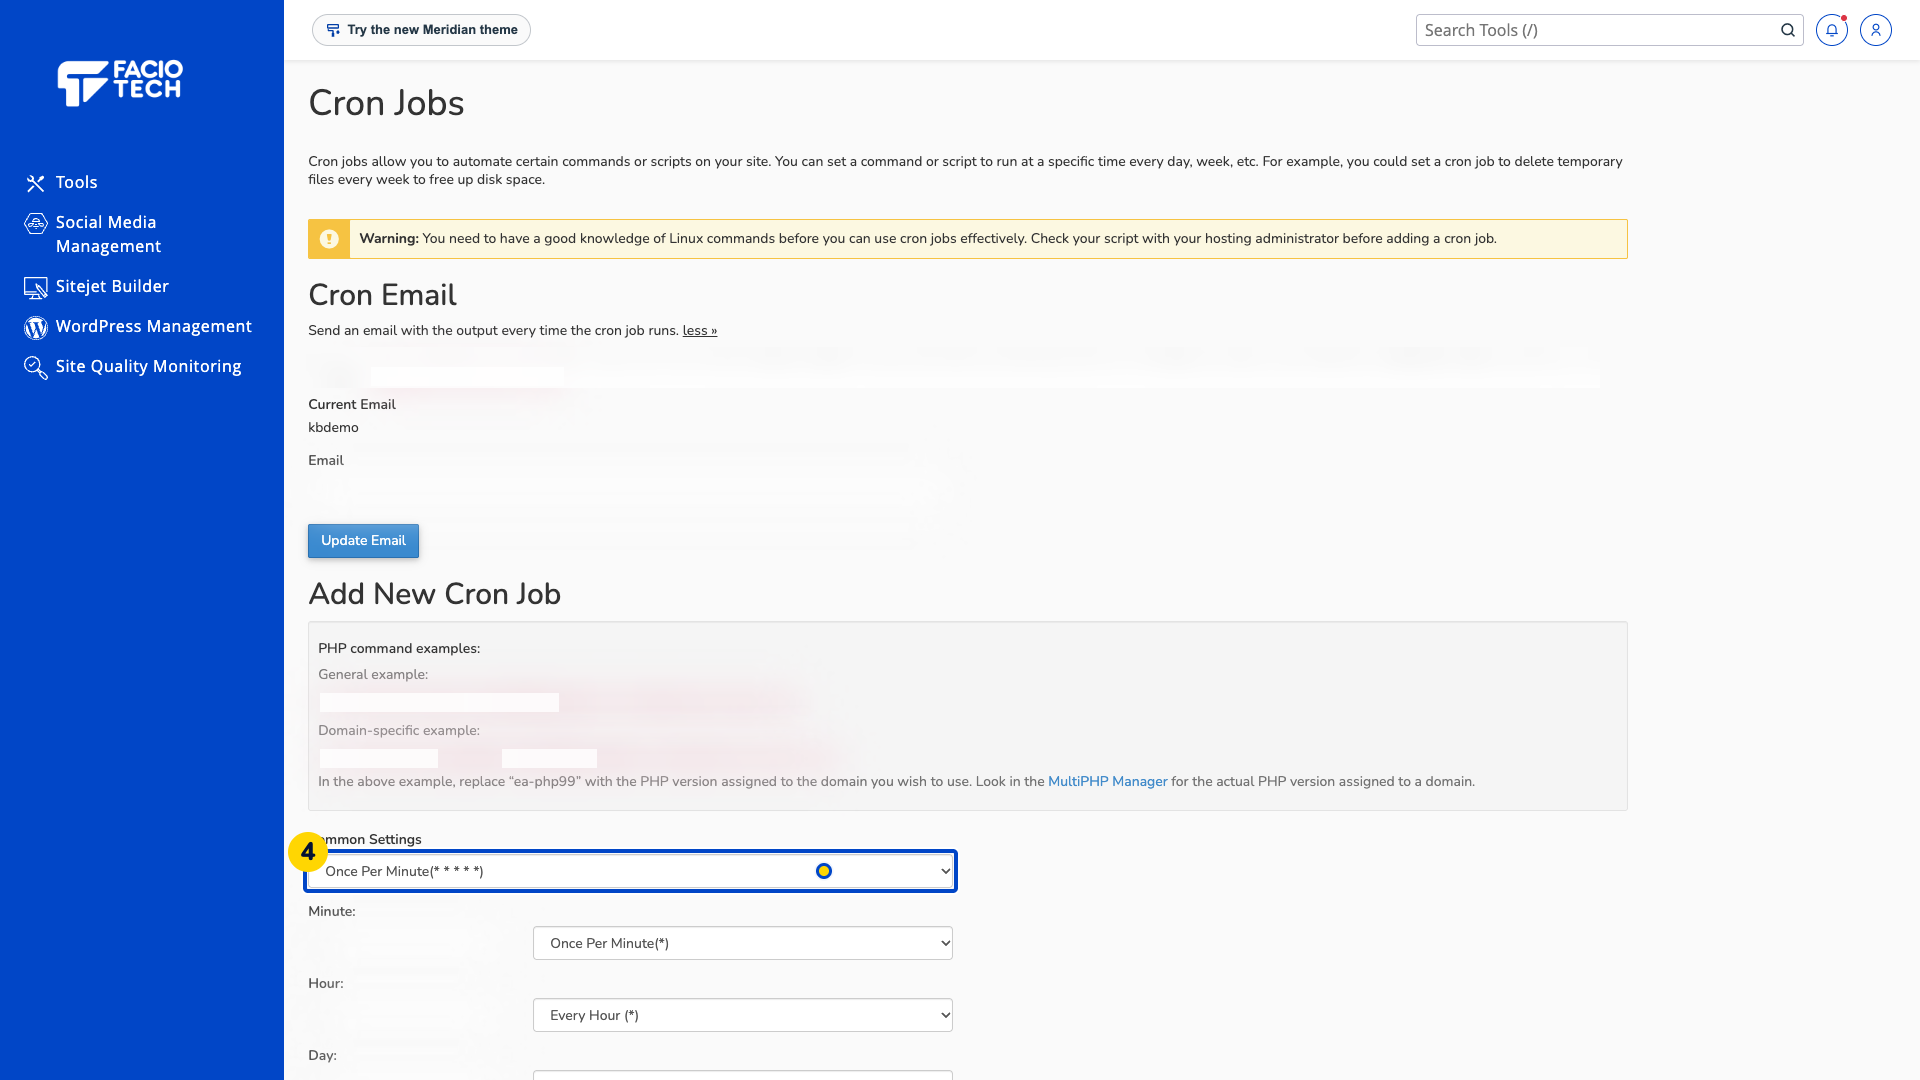
Choose the interval your application needs. Common Settings fills the Minute, Hour, Day, Month and Weekday fields for a preset schedule.
Enter the complete command supplied by your application or Faciotech support in Command. Use the path from those instructions.
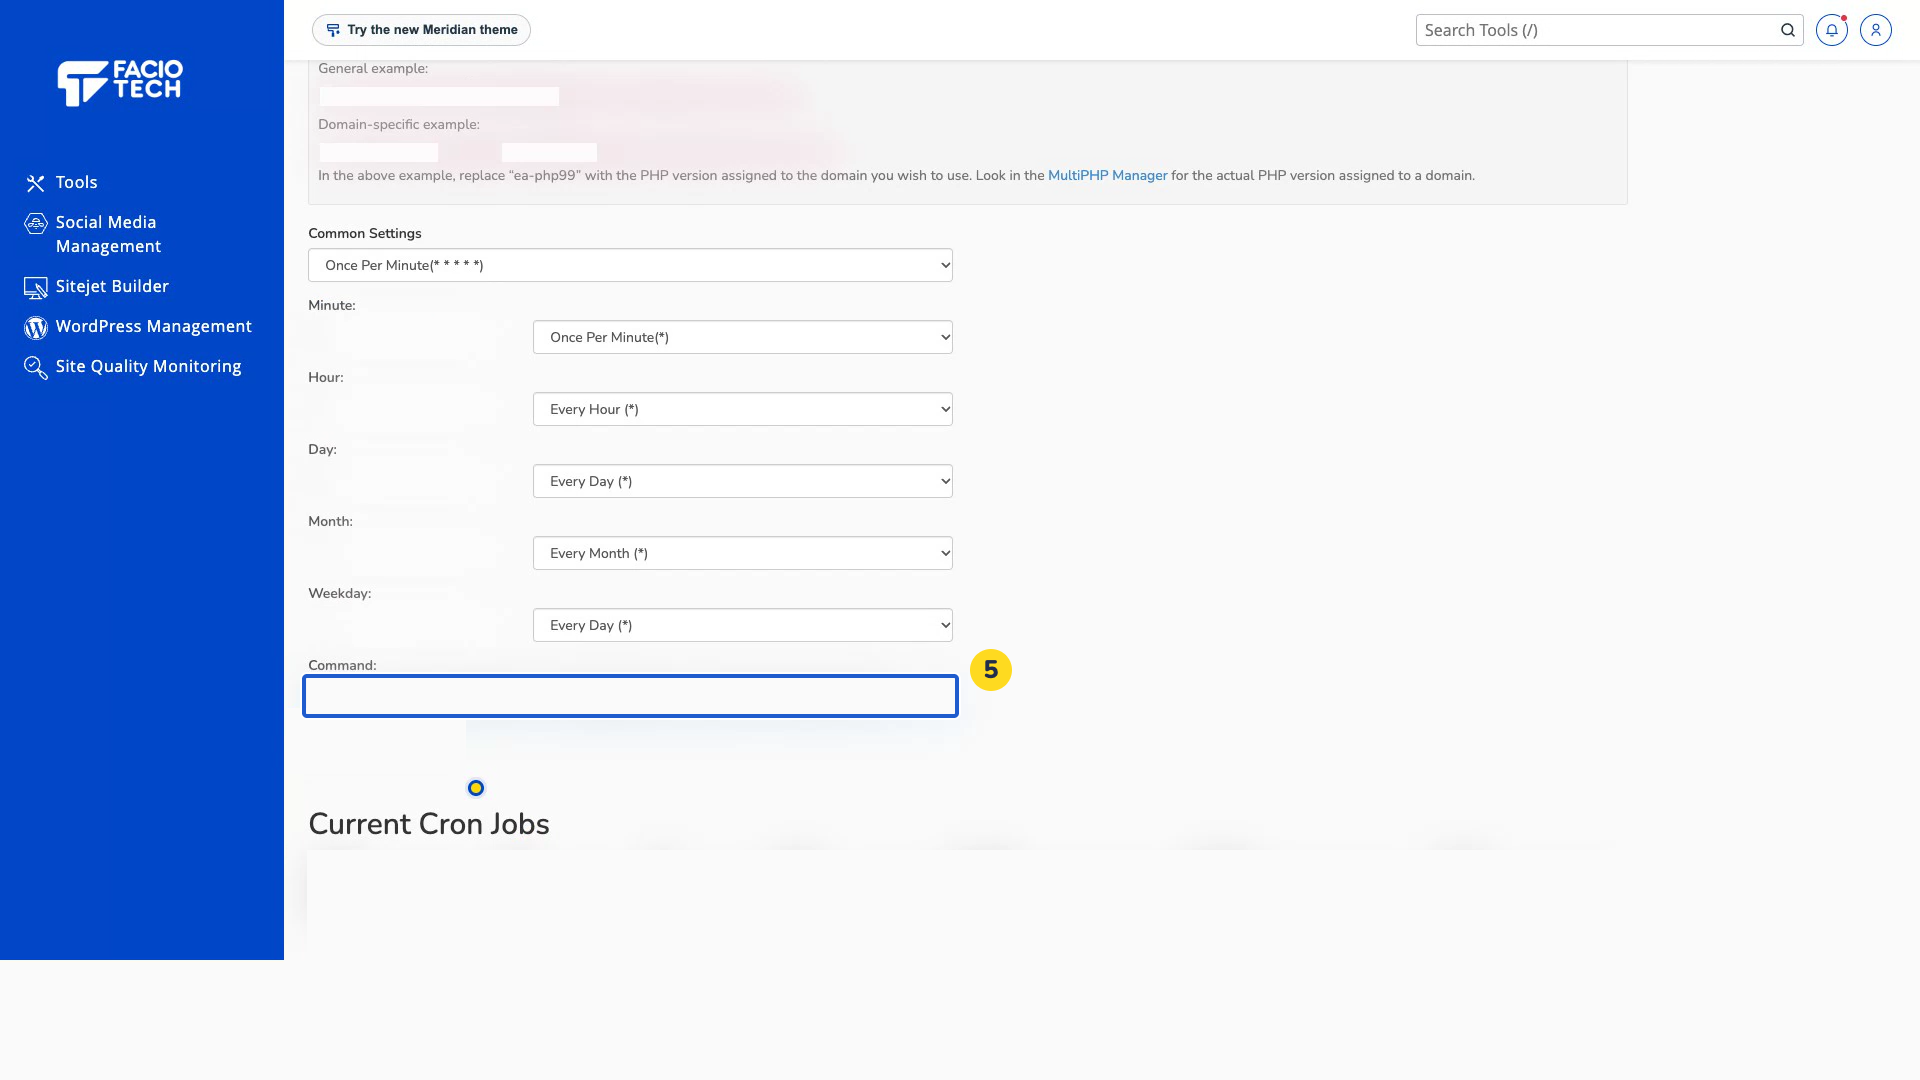
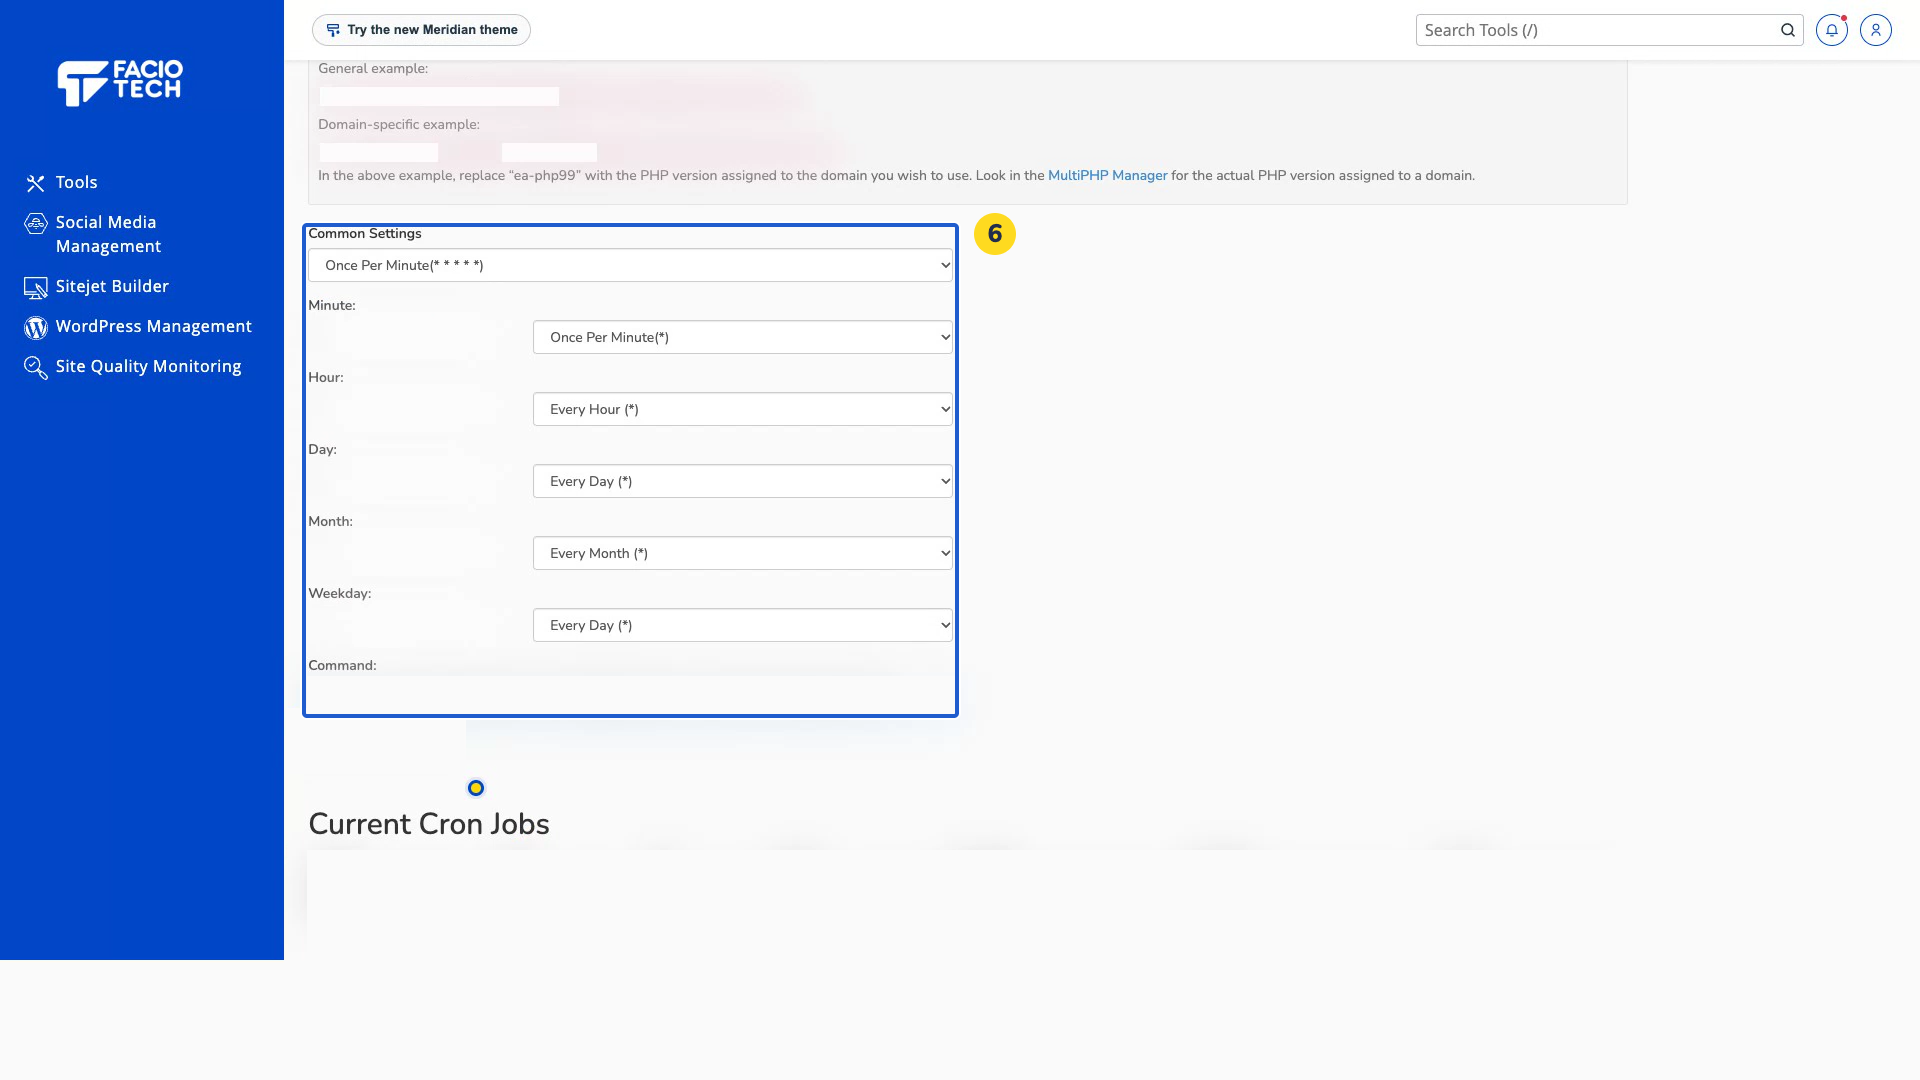
Review the schedule and command against your application instructions.
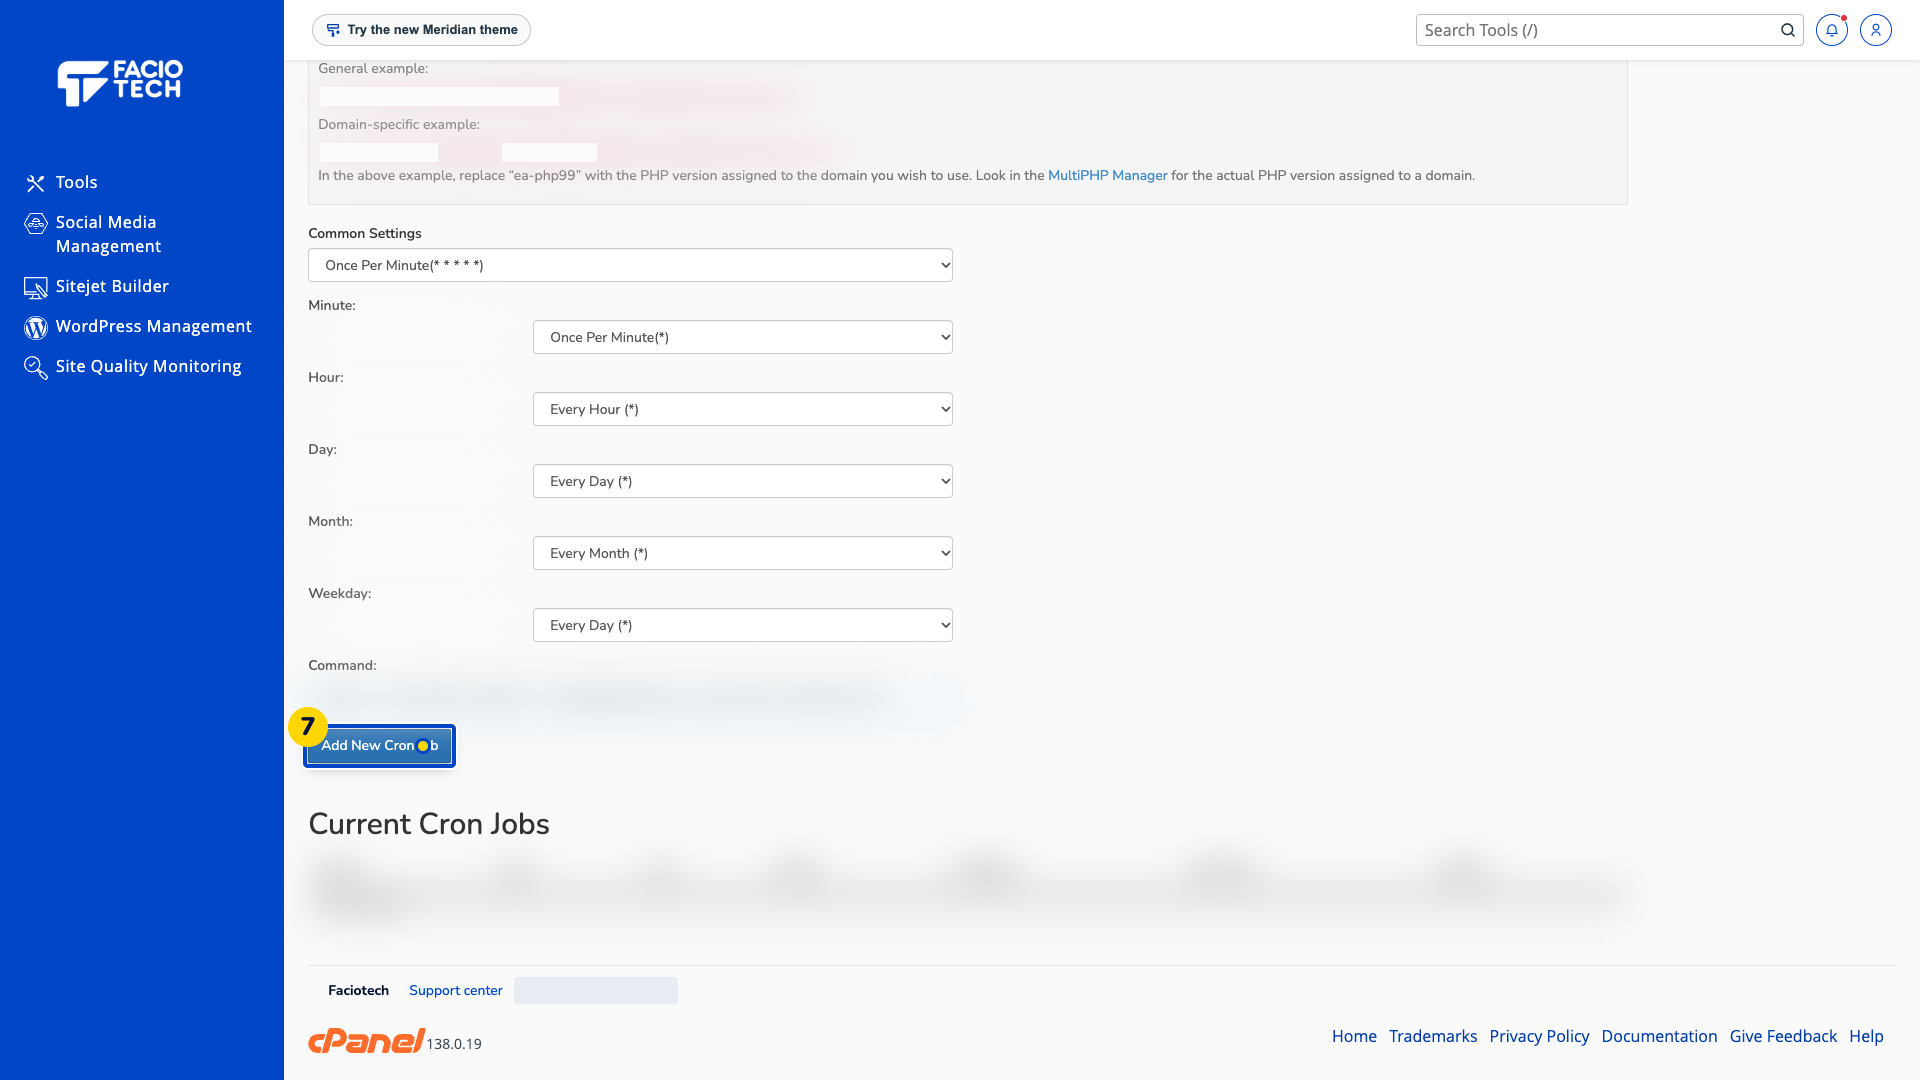
Choose Add New Cron Job. A confirmation or a new row in Current Cron Jobs shows that the schedule was saved; it does not show that the task has run.
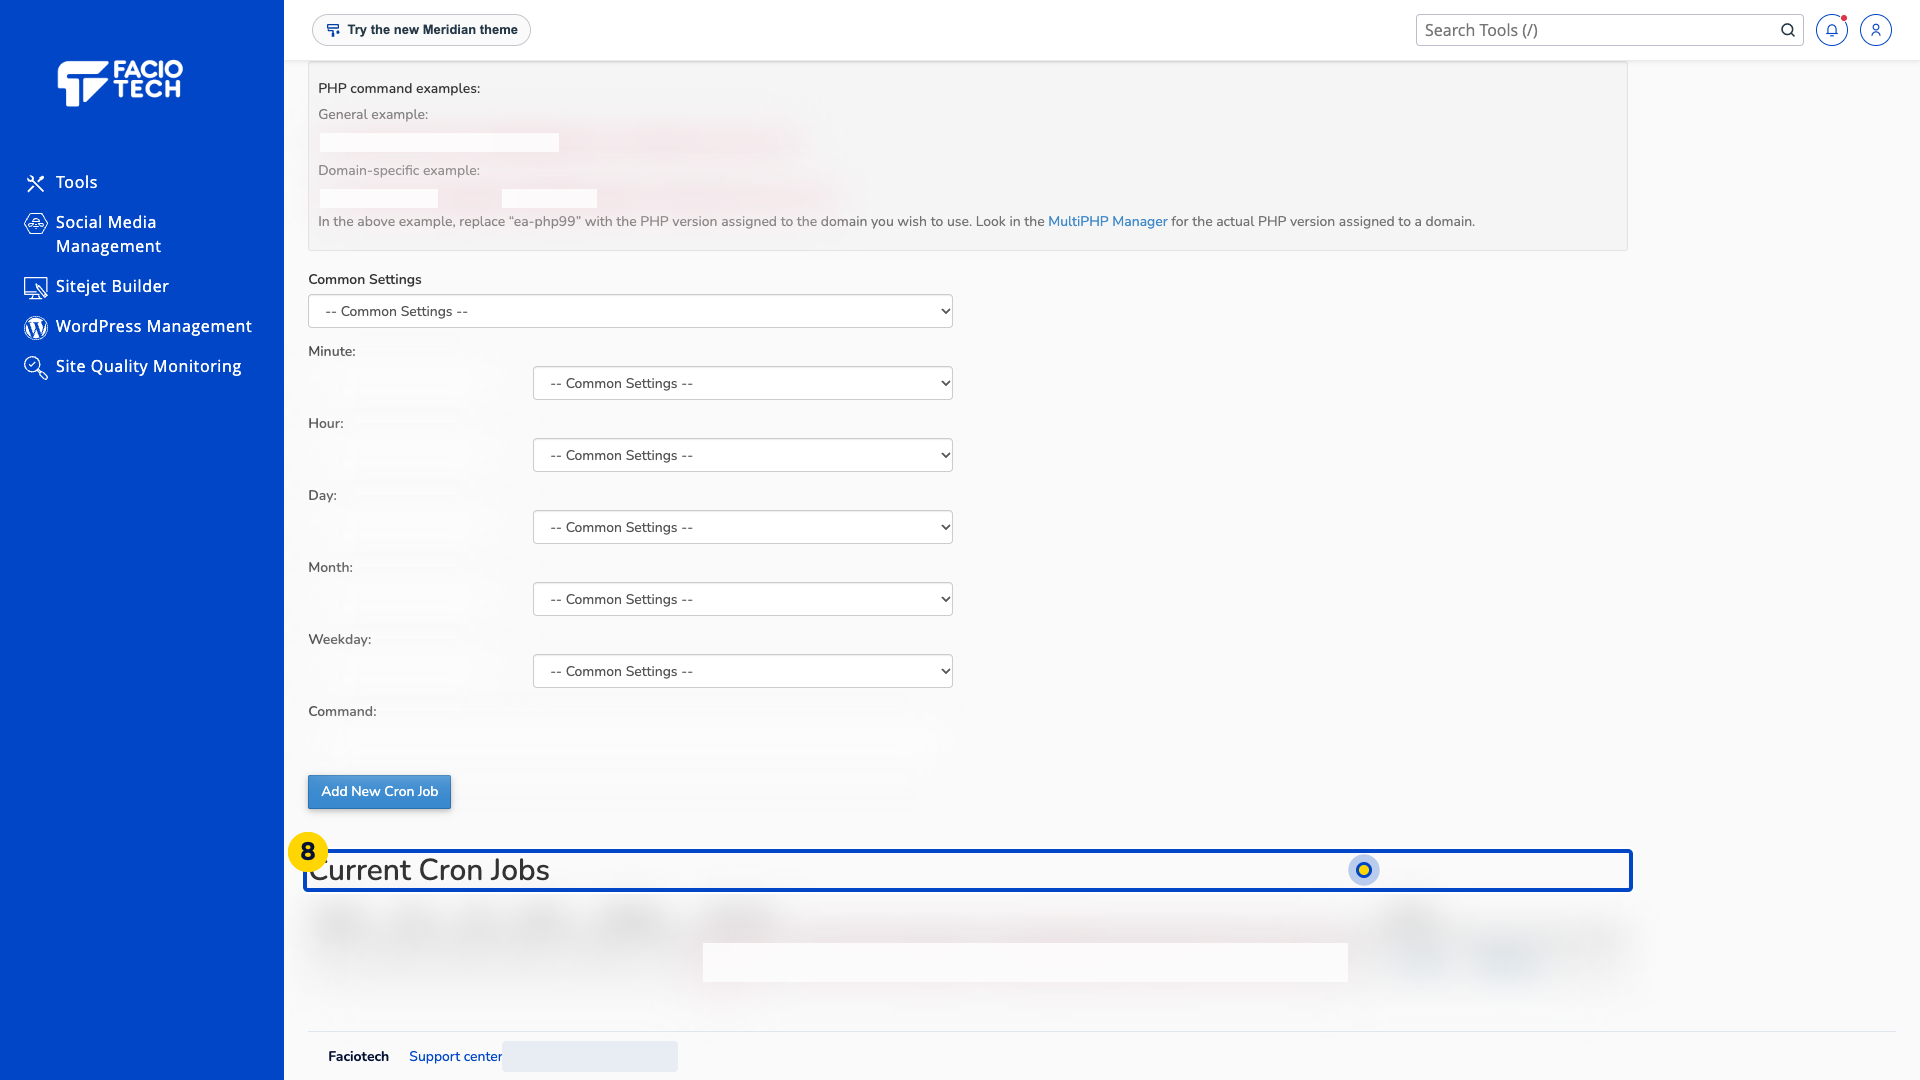
Check the new row in Current Cron Jobs. Its schedule should match the task you intended to add.
Check the task’s intended result after its scheduled time. That later result is the evidence that the scheduled command ran.
Allow a task to finish before scheduling its next run. A suitable interval depends on what the application does.
Video walkthrough
Sources
For help, contact Faciotech support.