
Write a blog post in the WordPress block editor and check it before publishing.
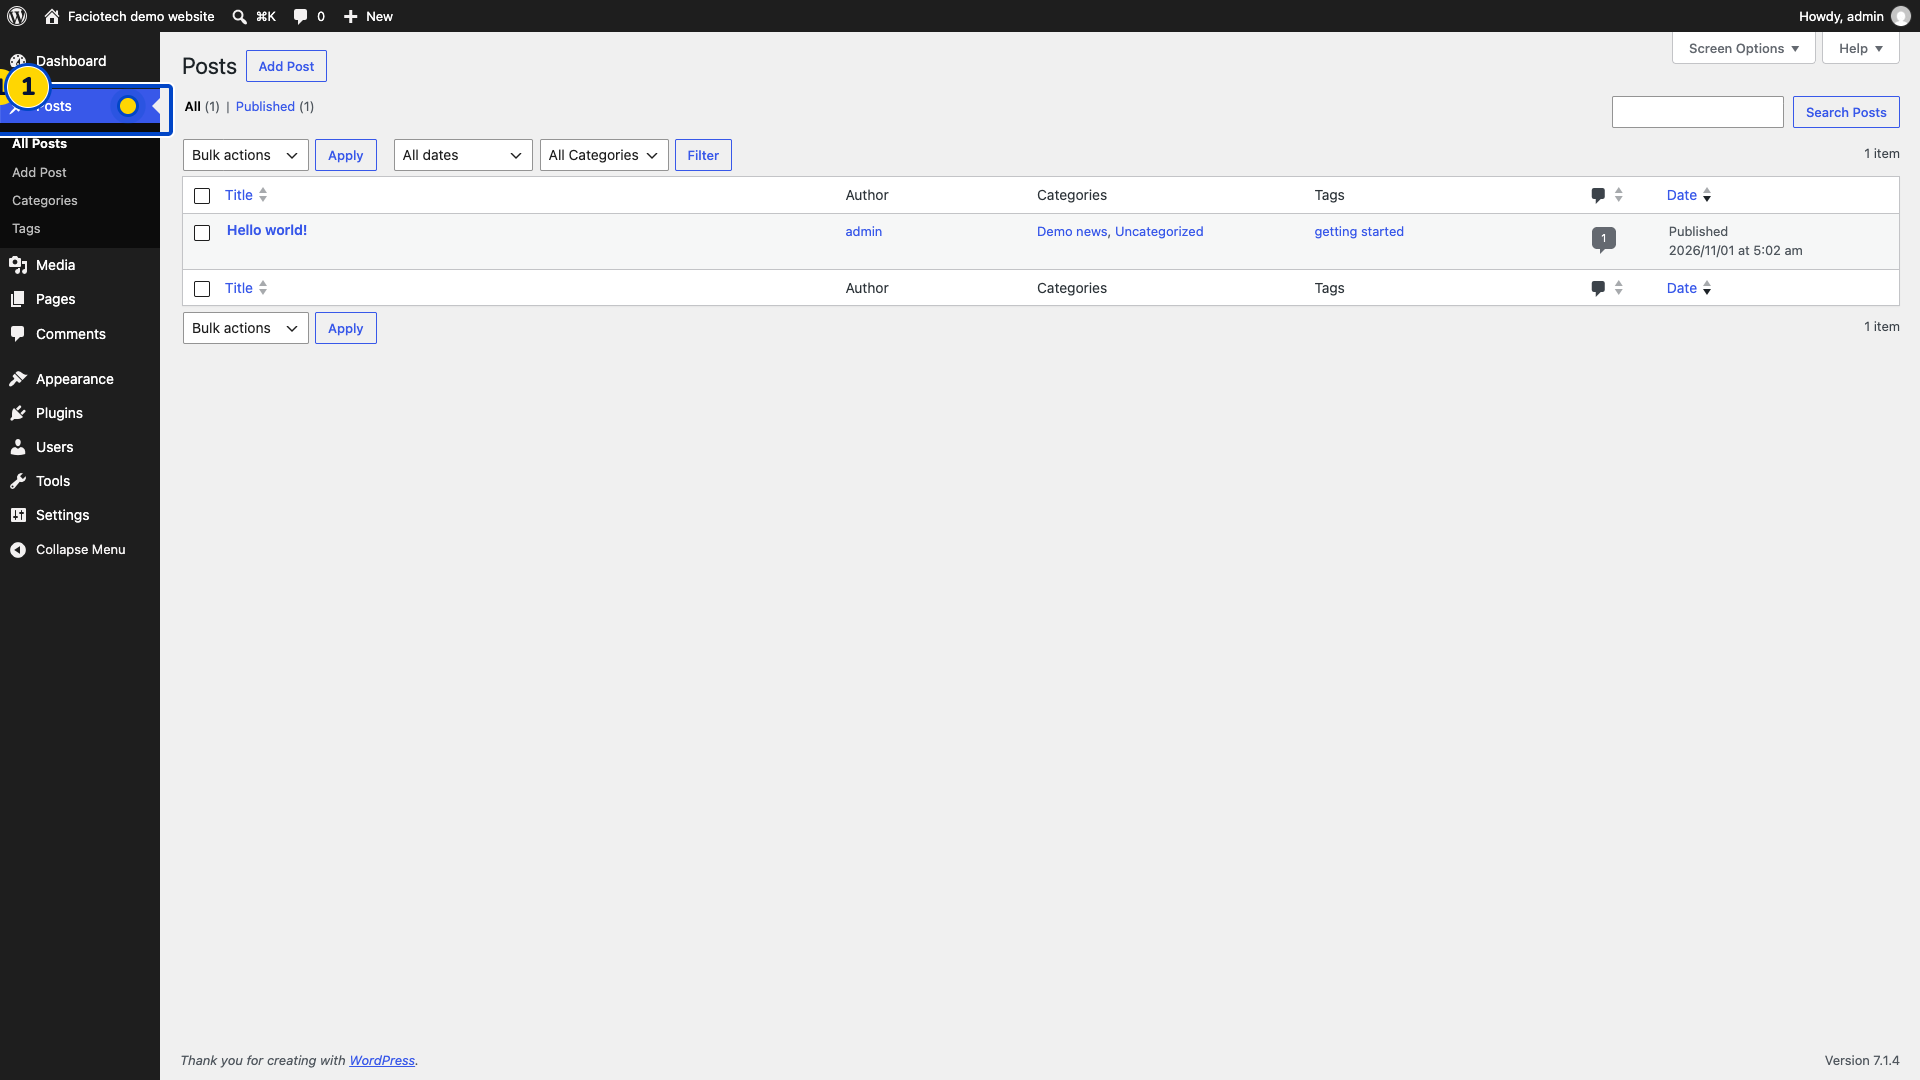
Open Posts in your WordPress dashboard. The post list appears.
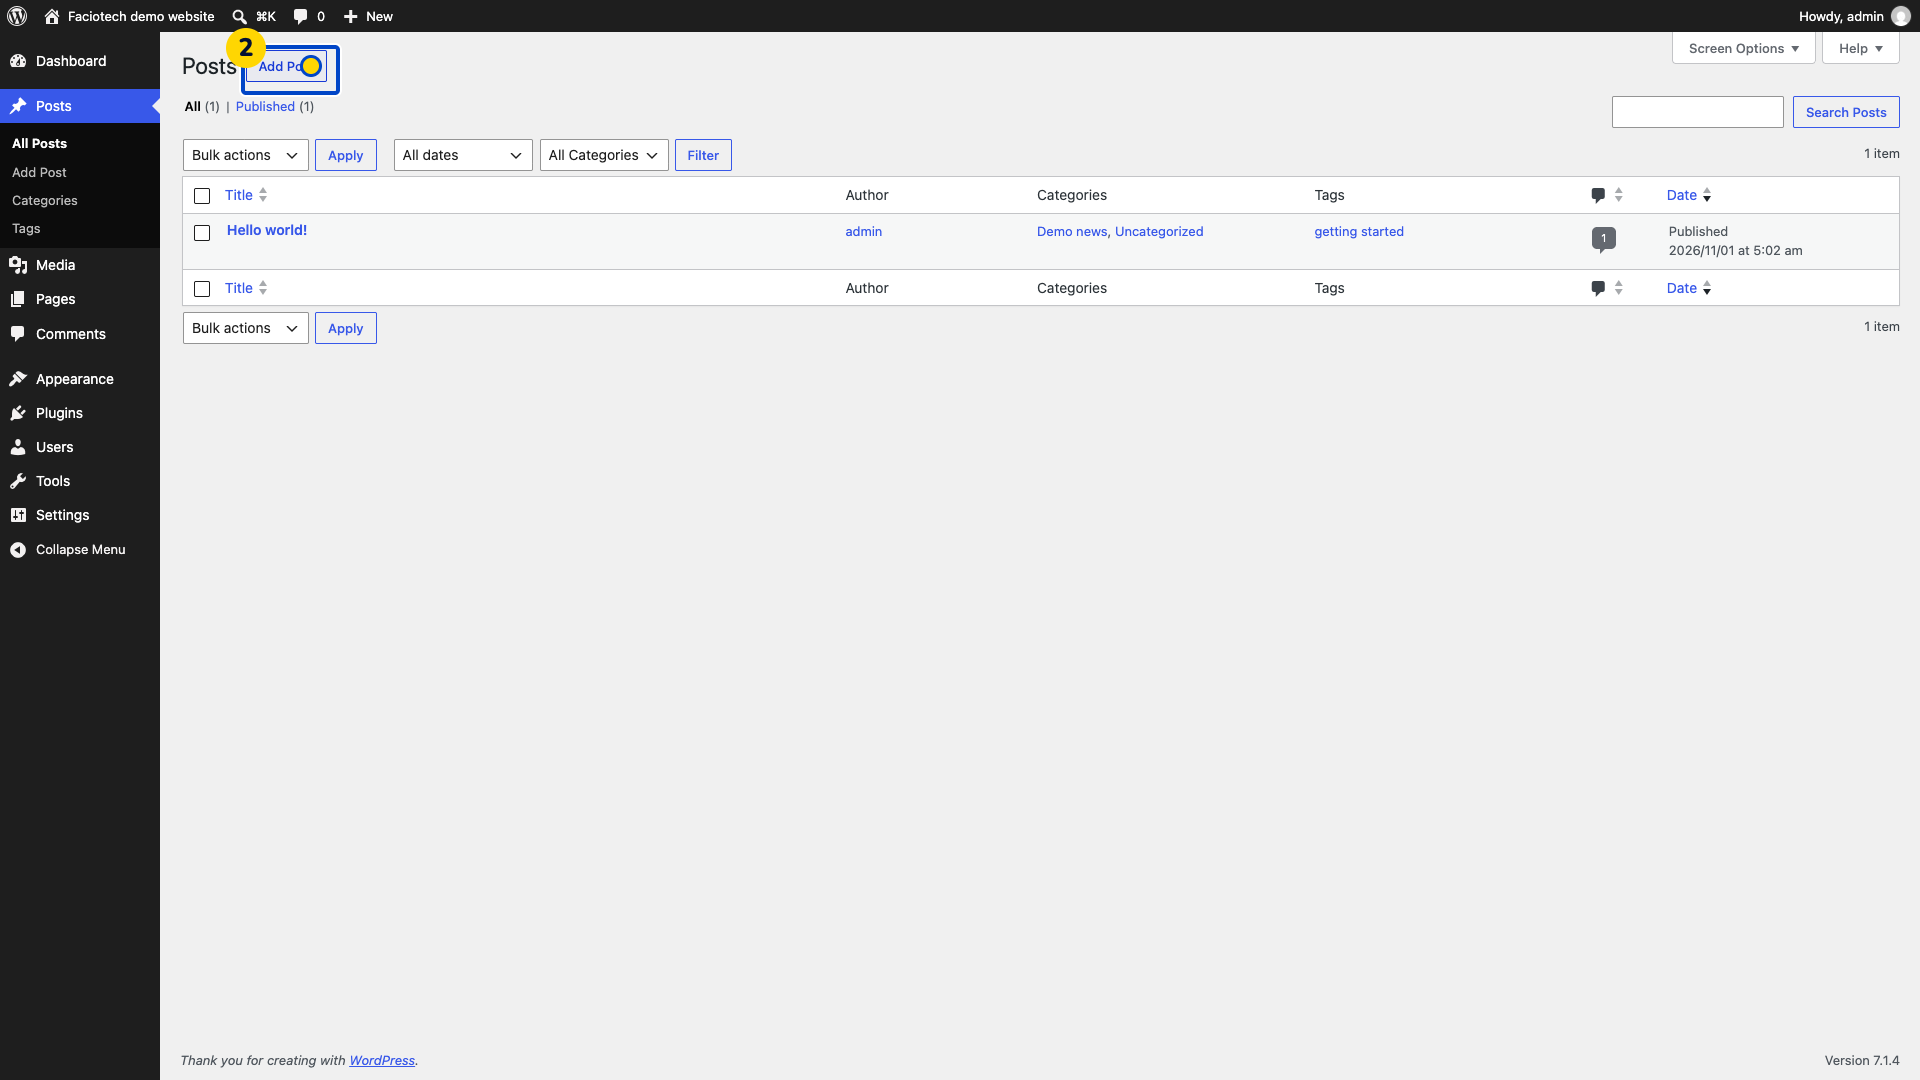
Choose Add Post. The block editor opens.
Enter your post title in Add title. The title appears at the top of the post.
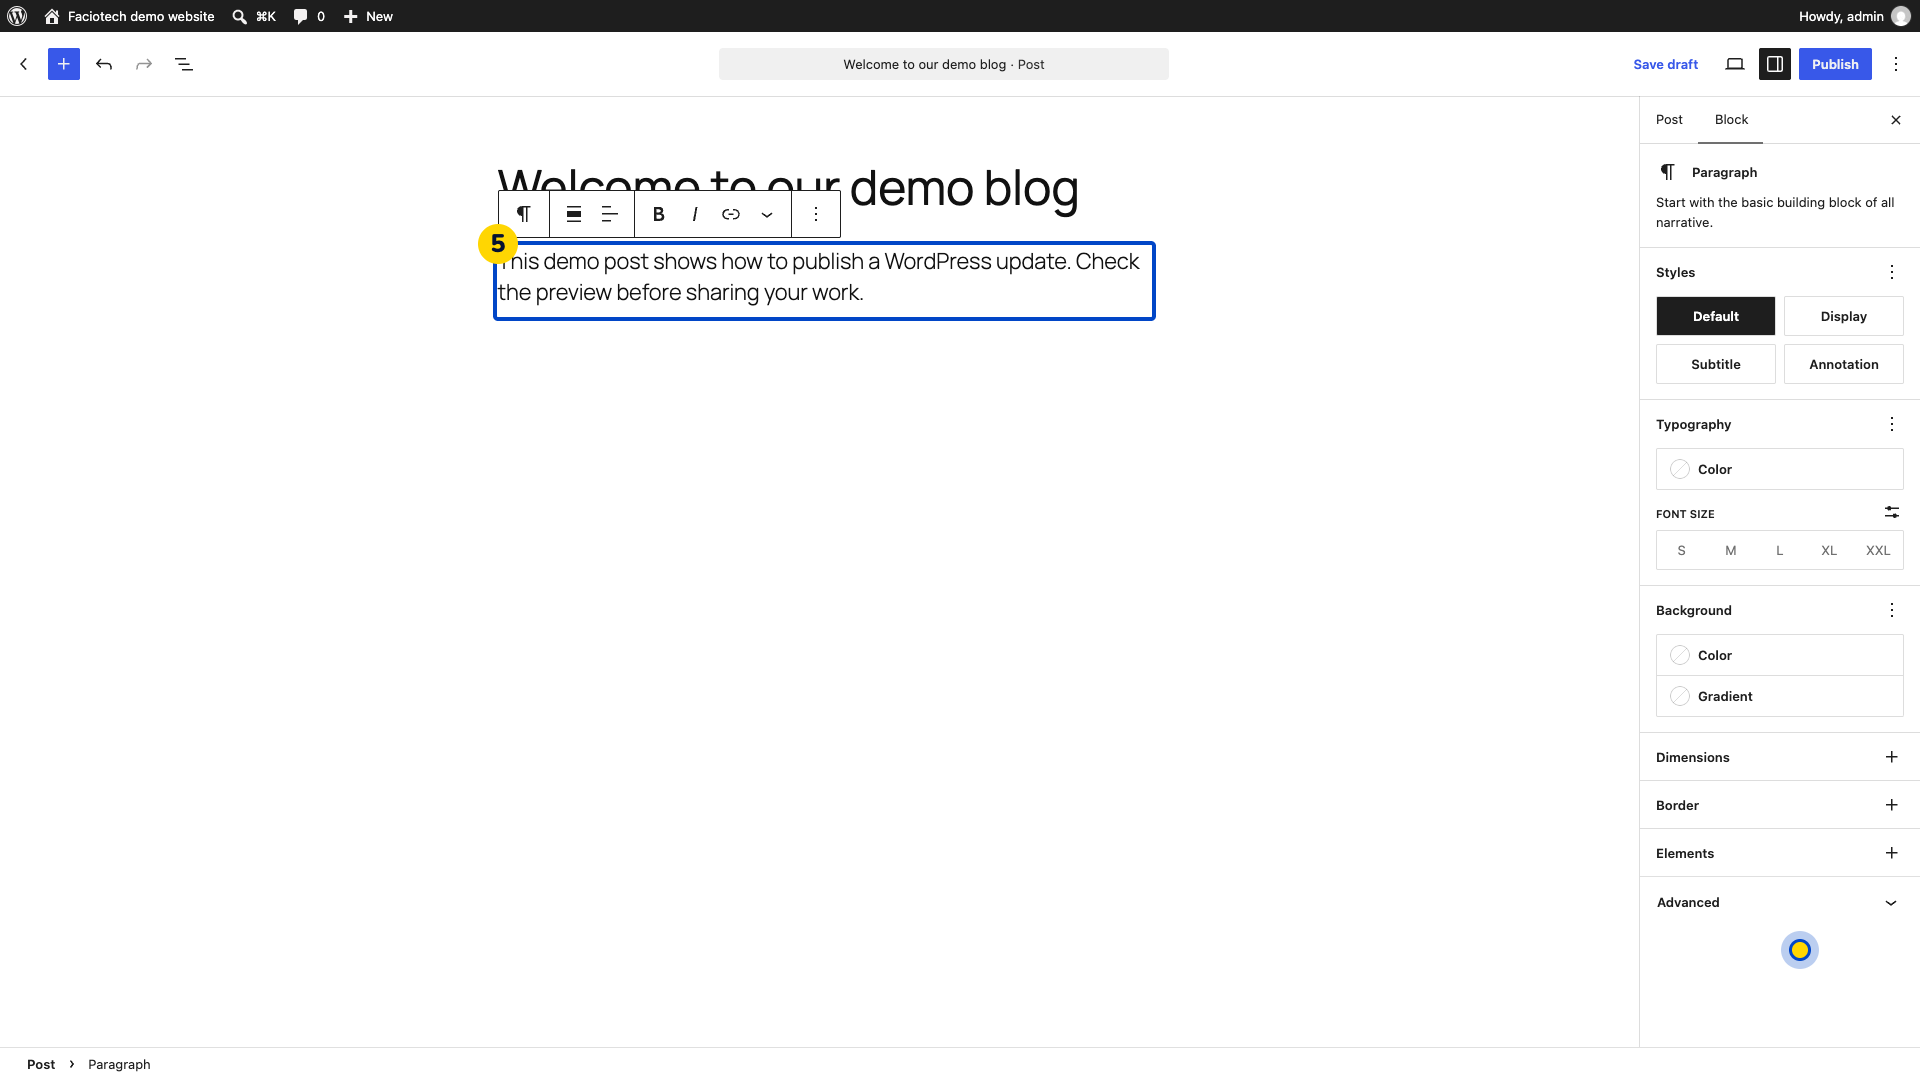
Choose the empty paragraph block below the title. The text cursor appears in the post body.
Write your post in that paragraph block. The text appears in the editor.
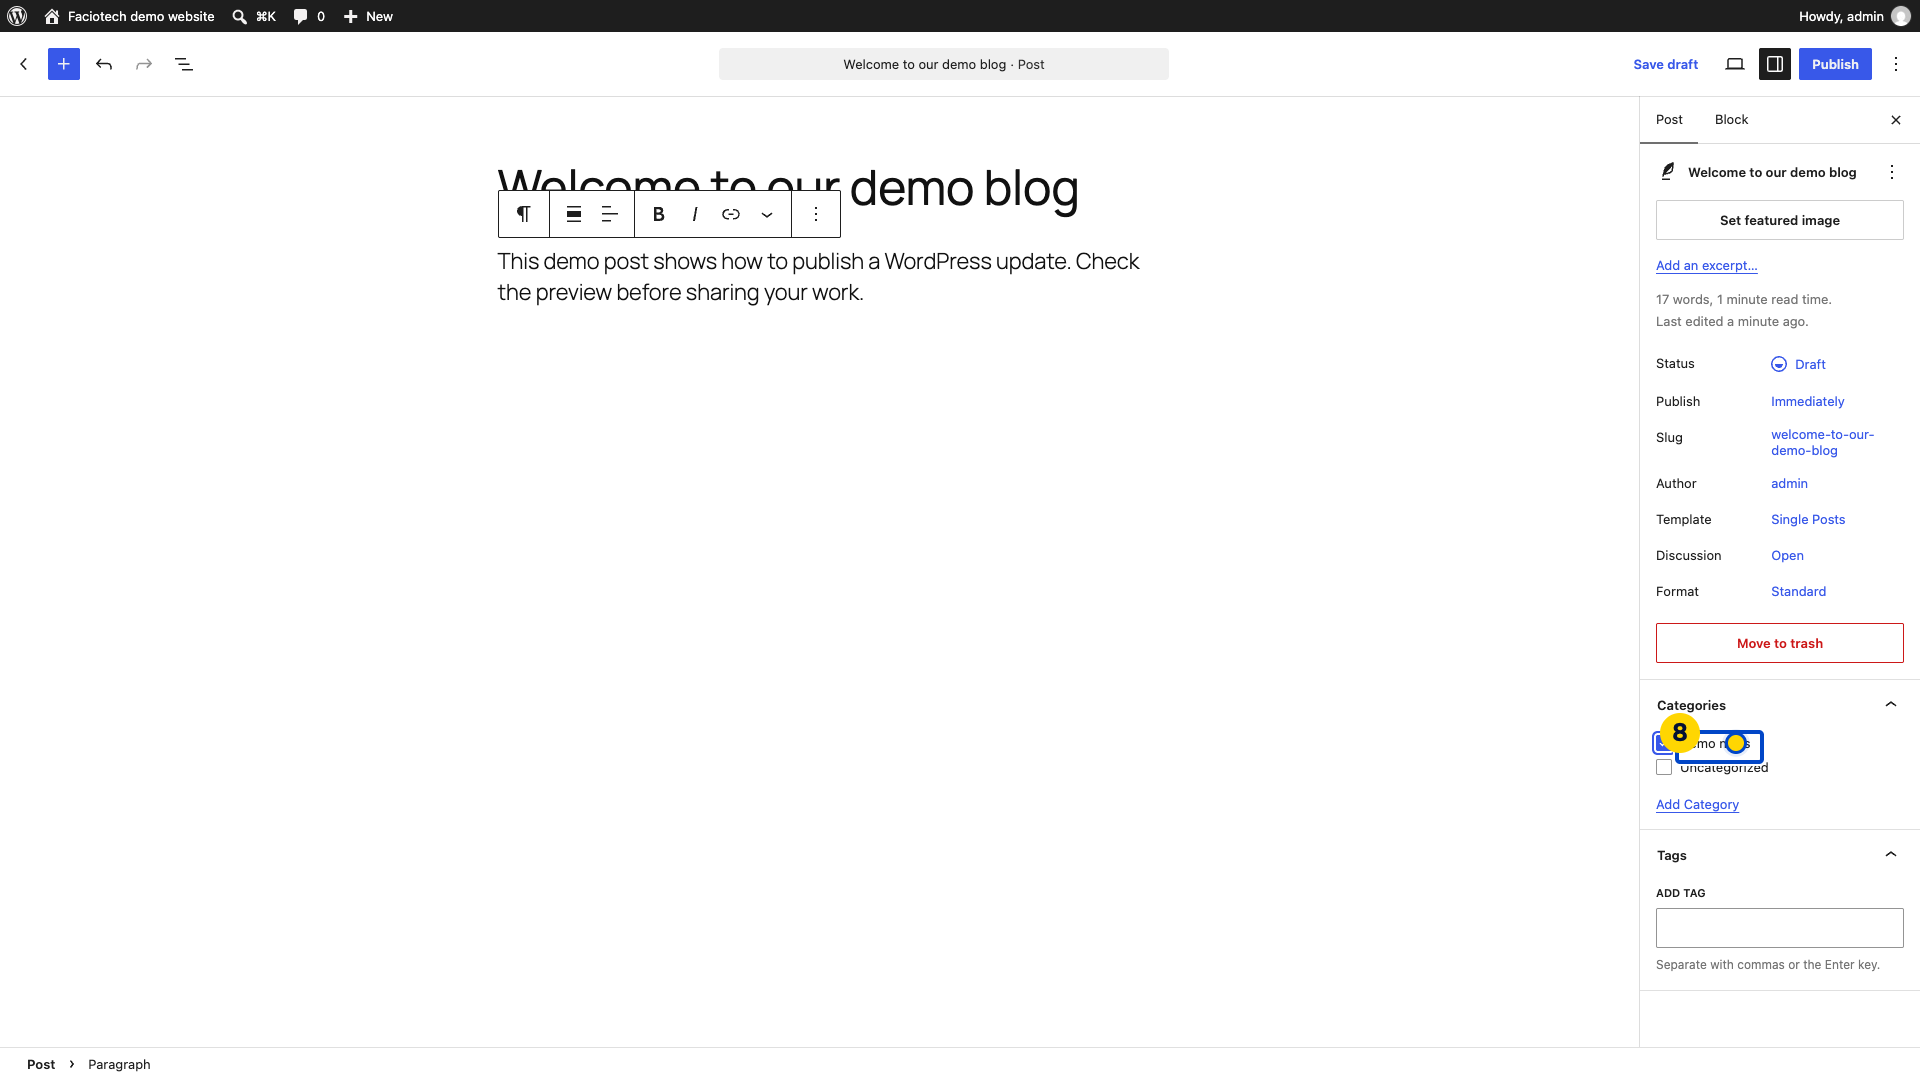
Open the Post settings sidebar. The post’s settings appear beside the editor.
Expand Categories. The category choices appear.
Select the category for your post. Its checkbox is selected.
Open View in the editor toolbar. The view menu appears.
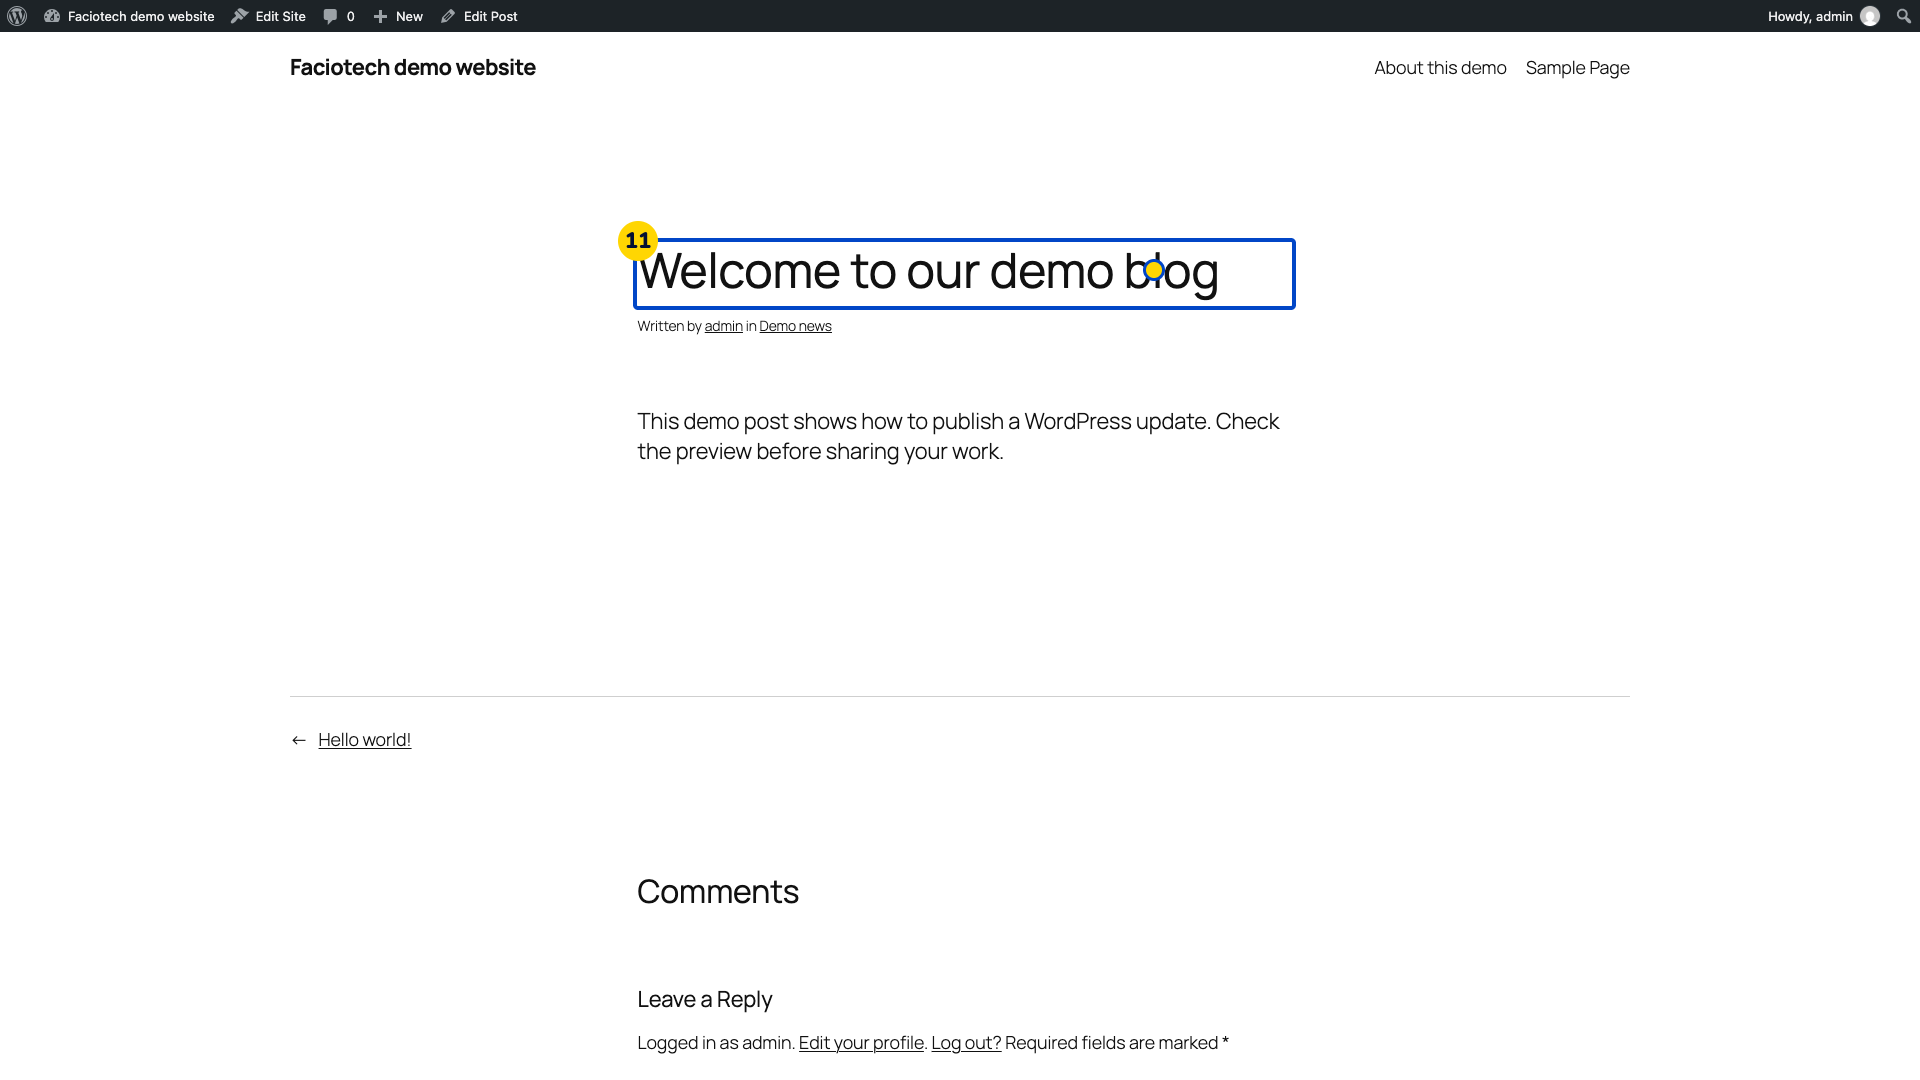
Choose Preview in new tab. A preview of the post opens in another tab.
Check the preview’s title, text and category. They should match the post you intend to publish.
Return to the editor tab. The post editor is visible again.
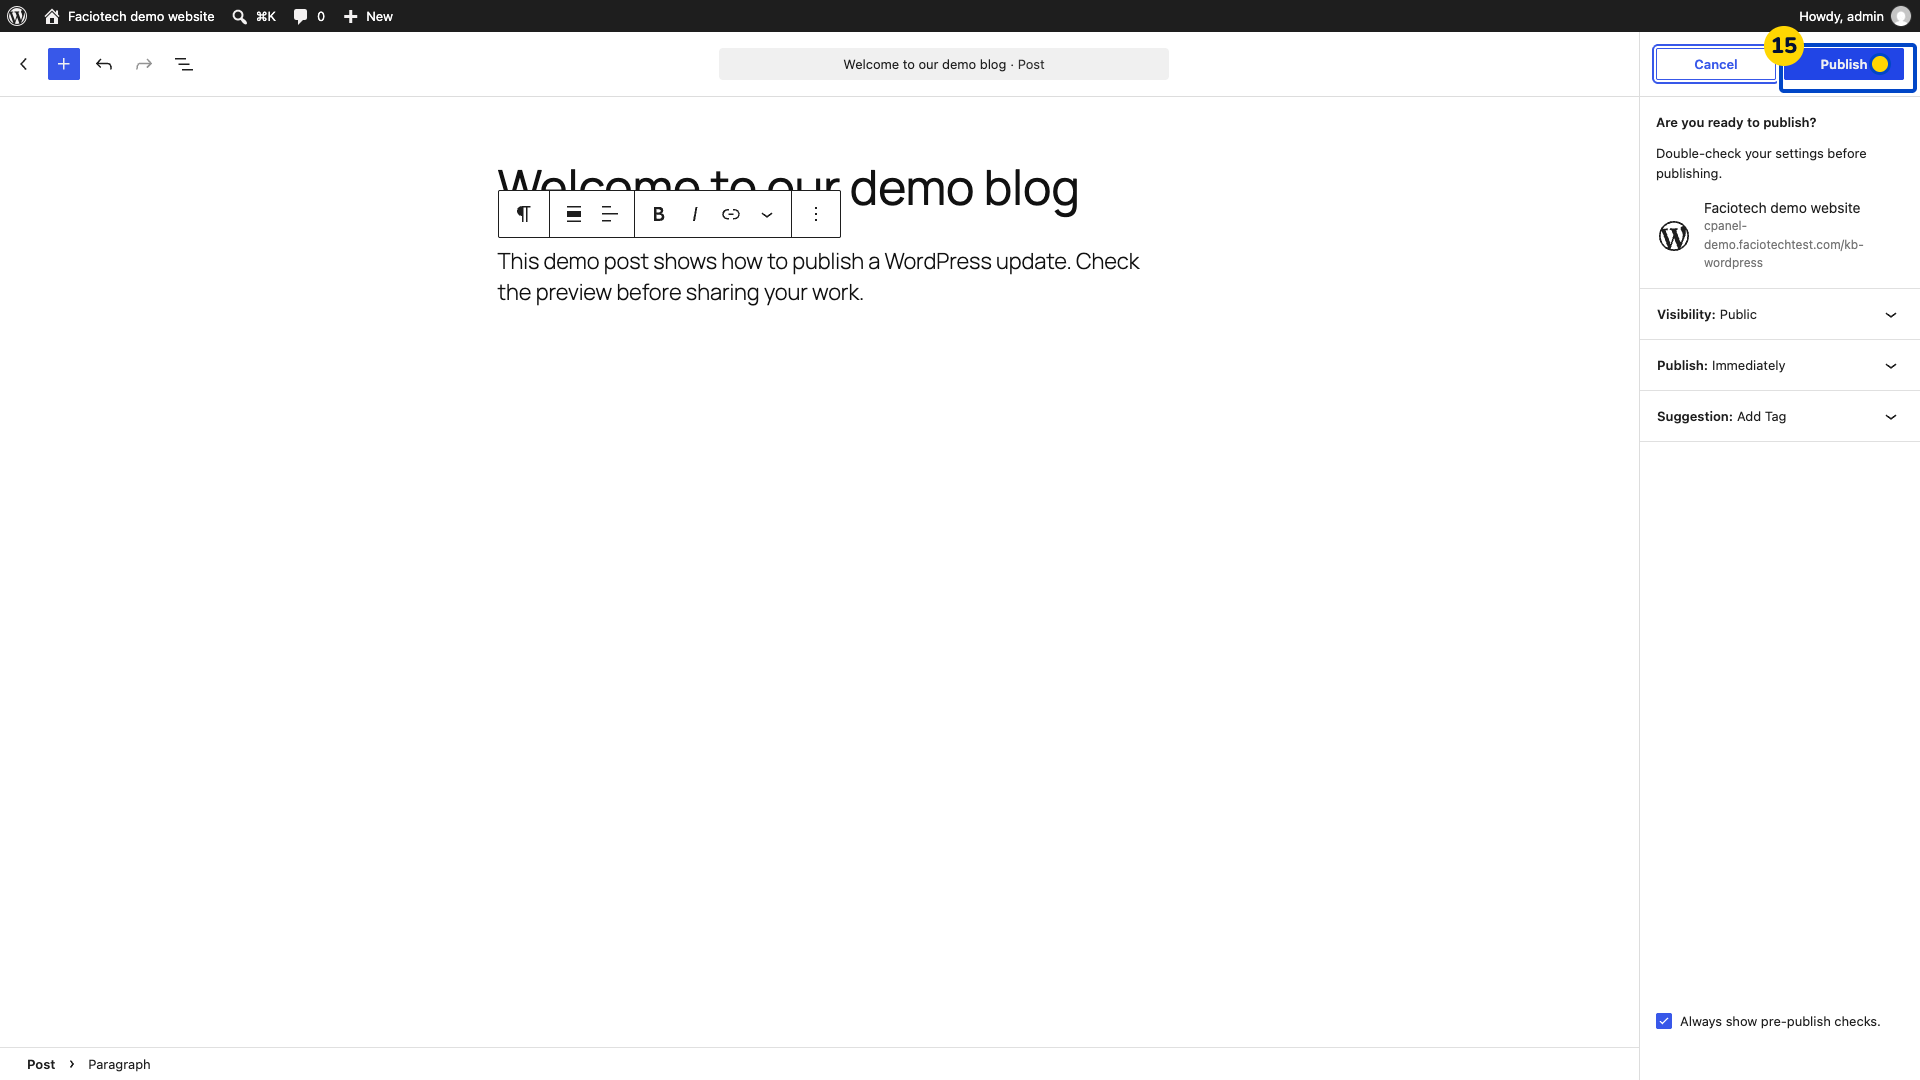
Choose Publish in the editor. The pre-publish panel appears.
Review the visibility and publishing time. The panel should show the settings you intend to use.
Choose Publish again. WordPress reports that the post is published.
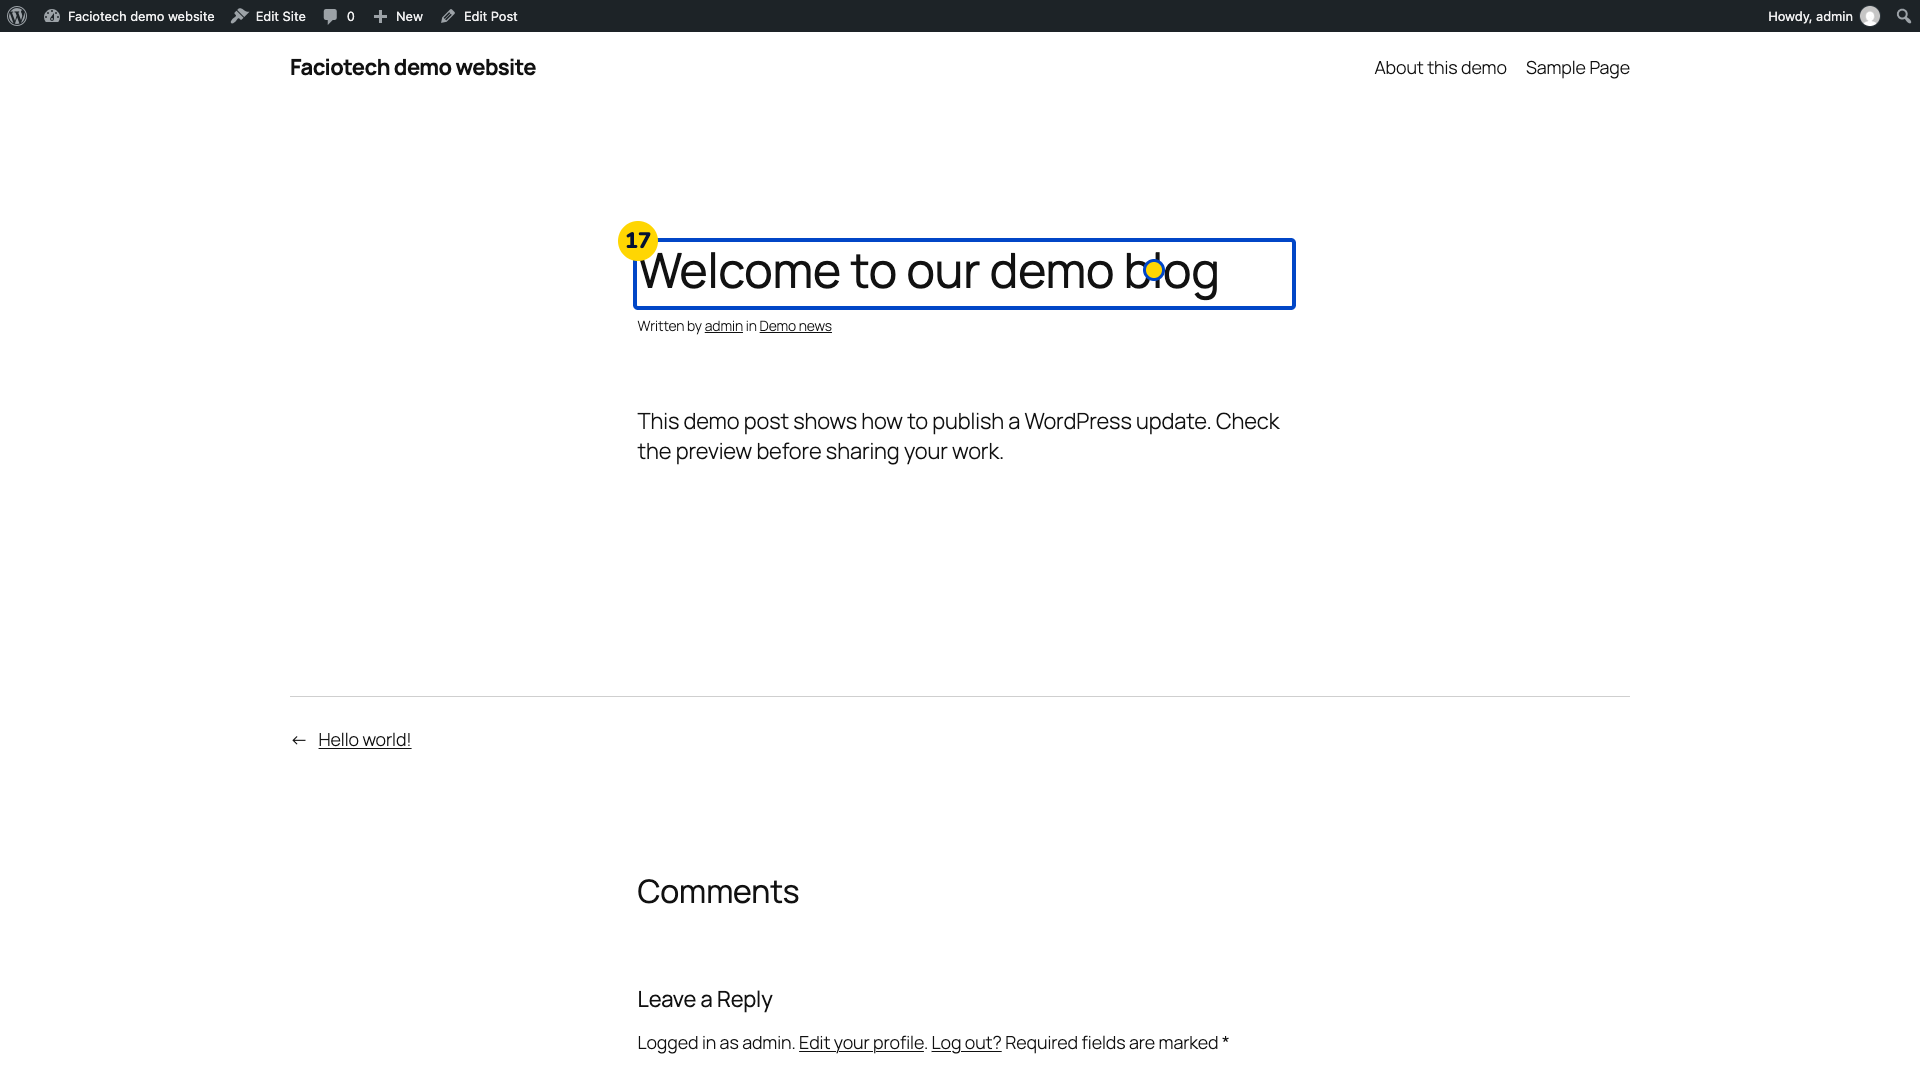
Choose View Post. The published post opens.
Check the title, category and text on the published post. They should match the content you intended to publish.
Use Save draft if the post is not ready to publish.
Video walkthrough
Sources
For help, contact Faciotech support.