
Add an image to your Media Library and describe its purpose for people who cannot see it.
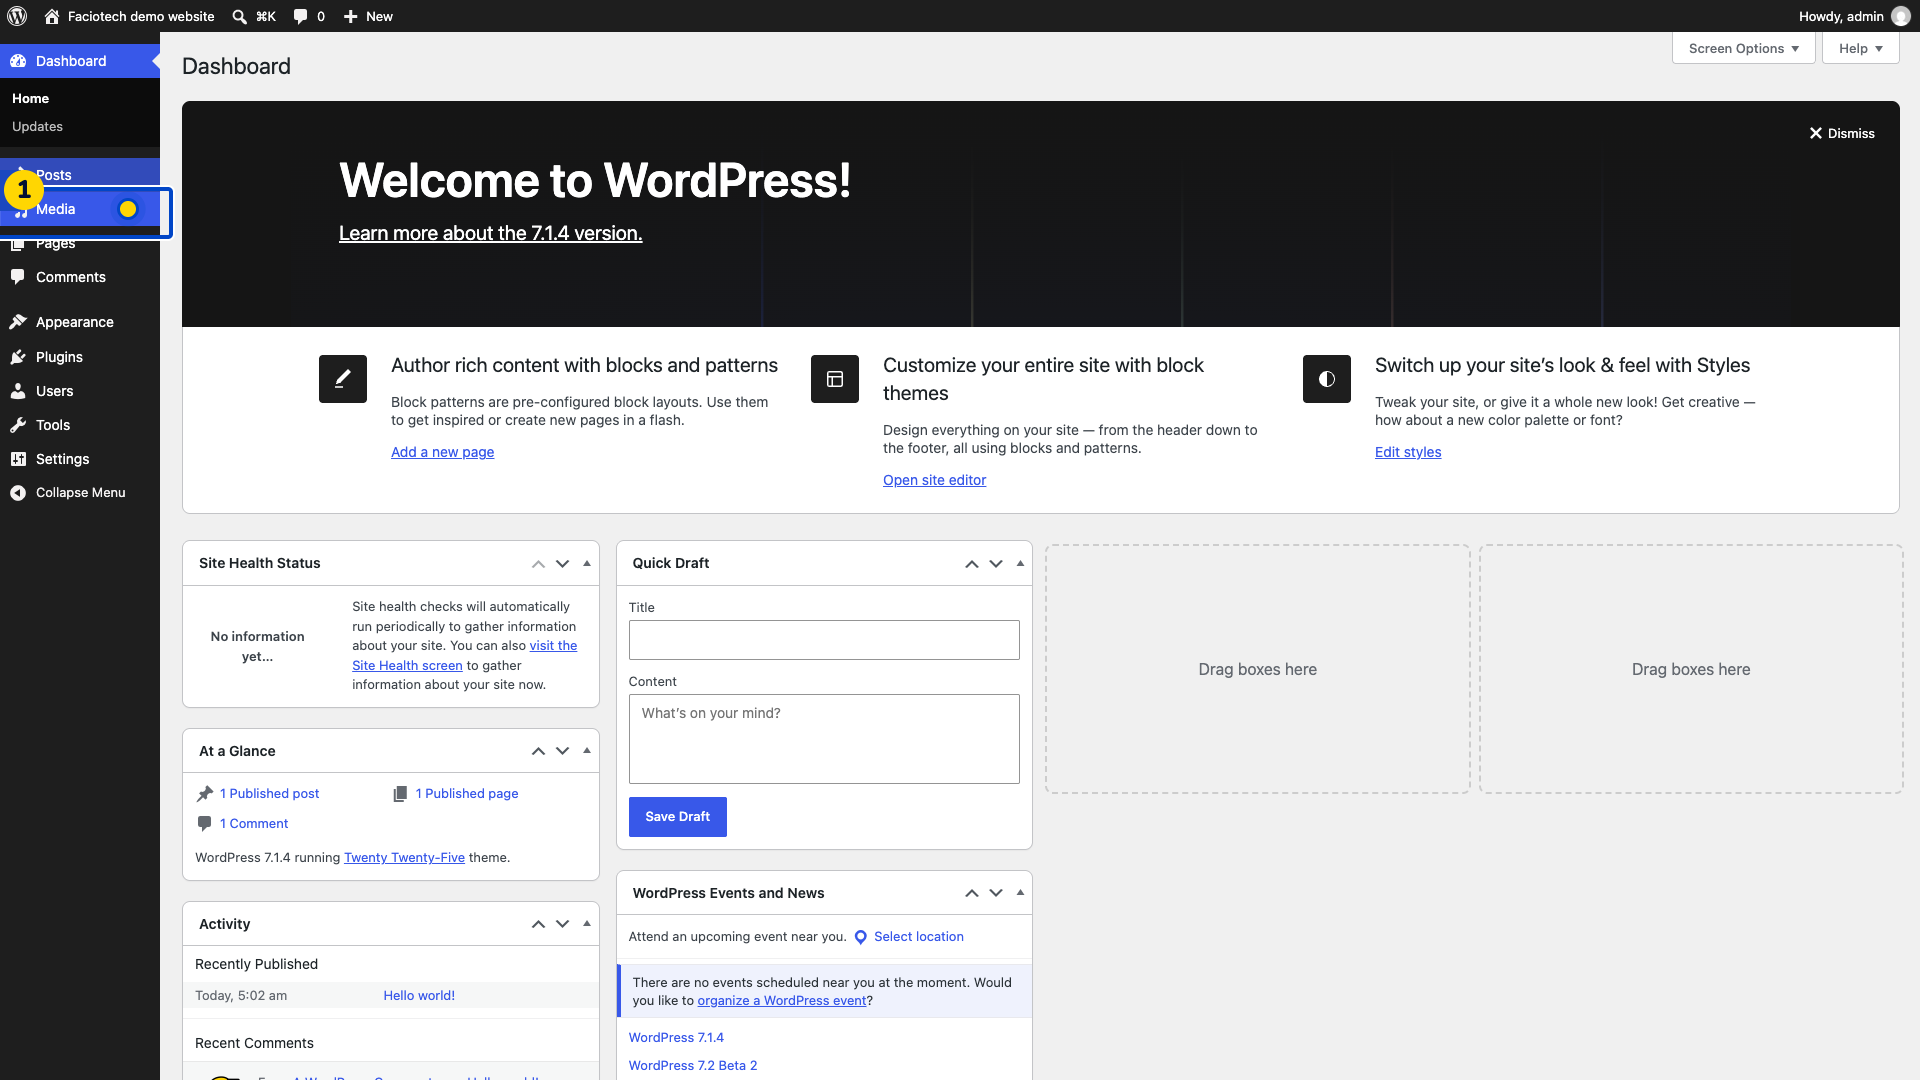
Open Media in the WordPress dashboard. The Media Library appears.
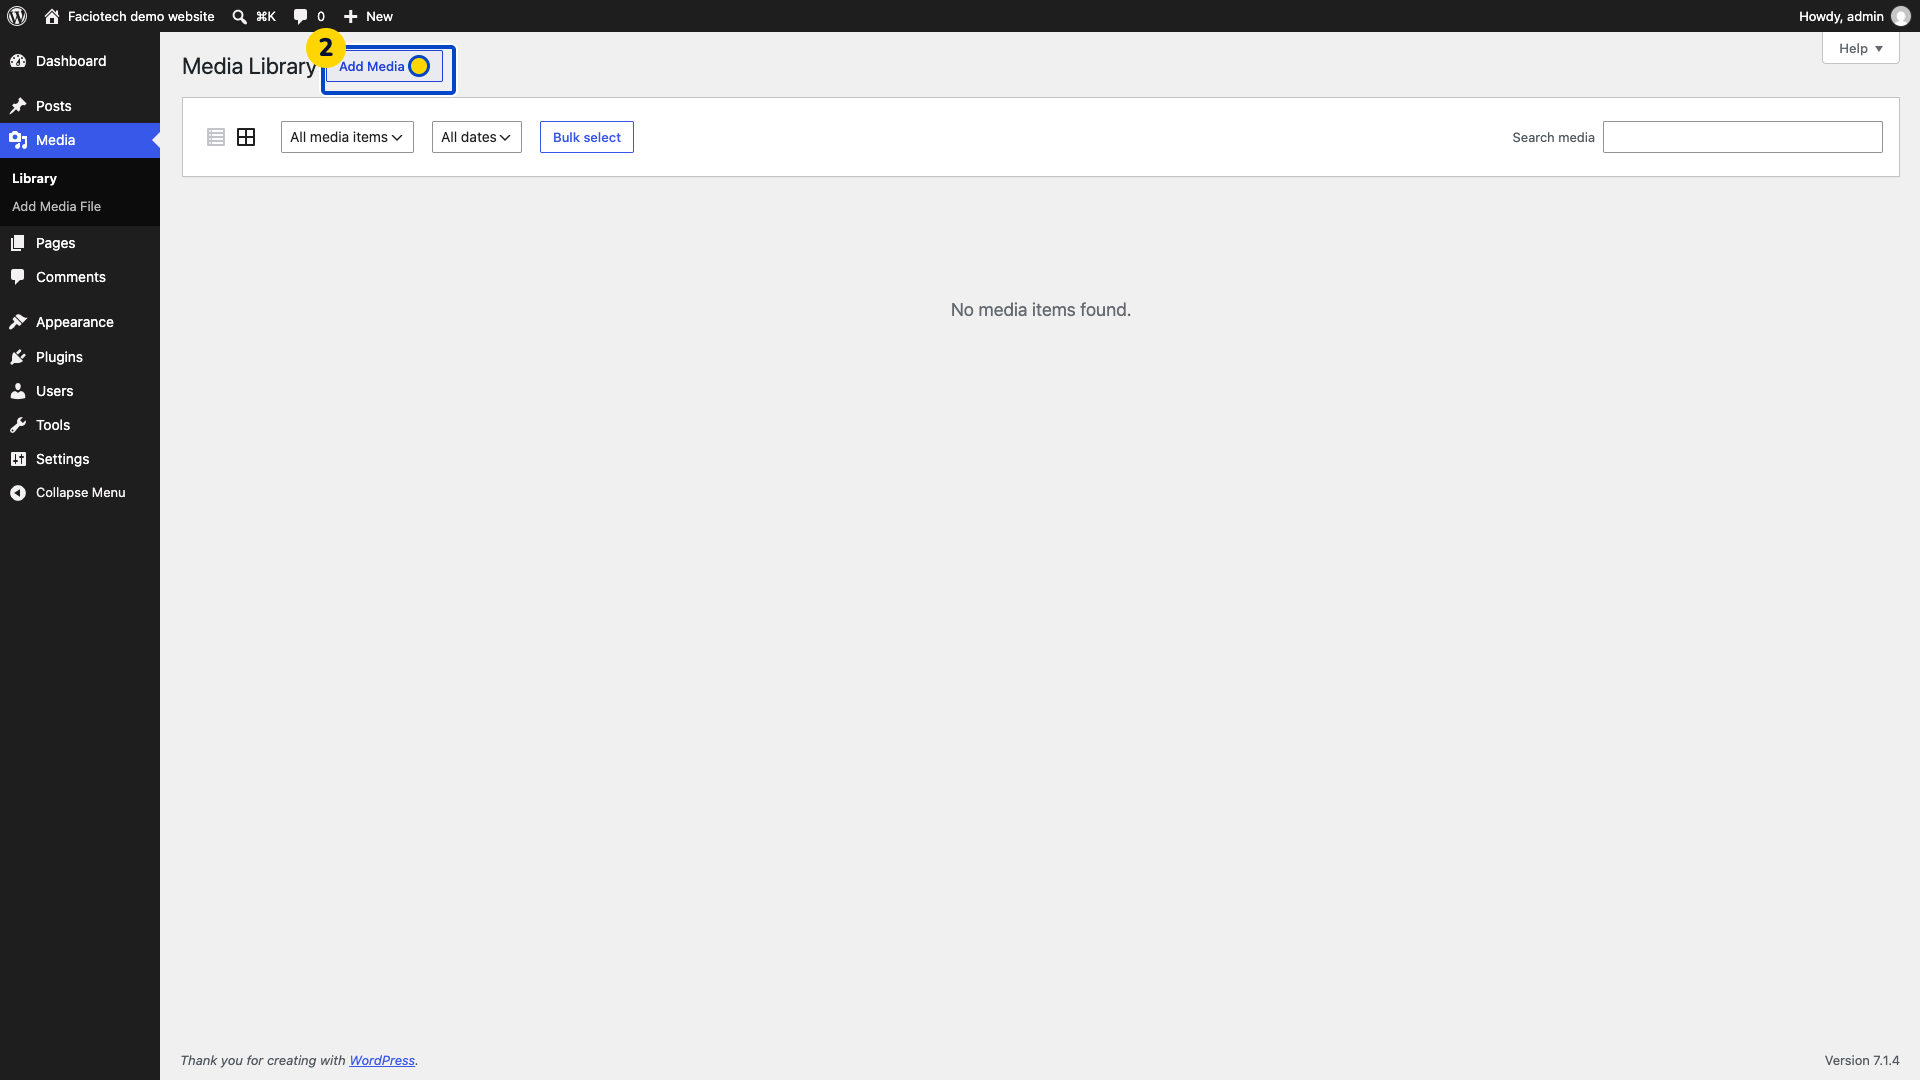
Choose Add Media File. The upload area opens above the library.
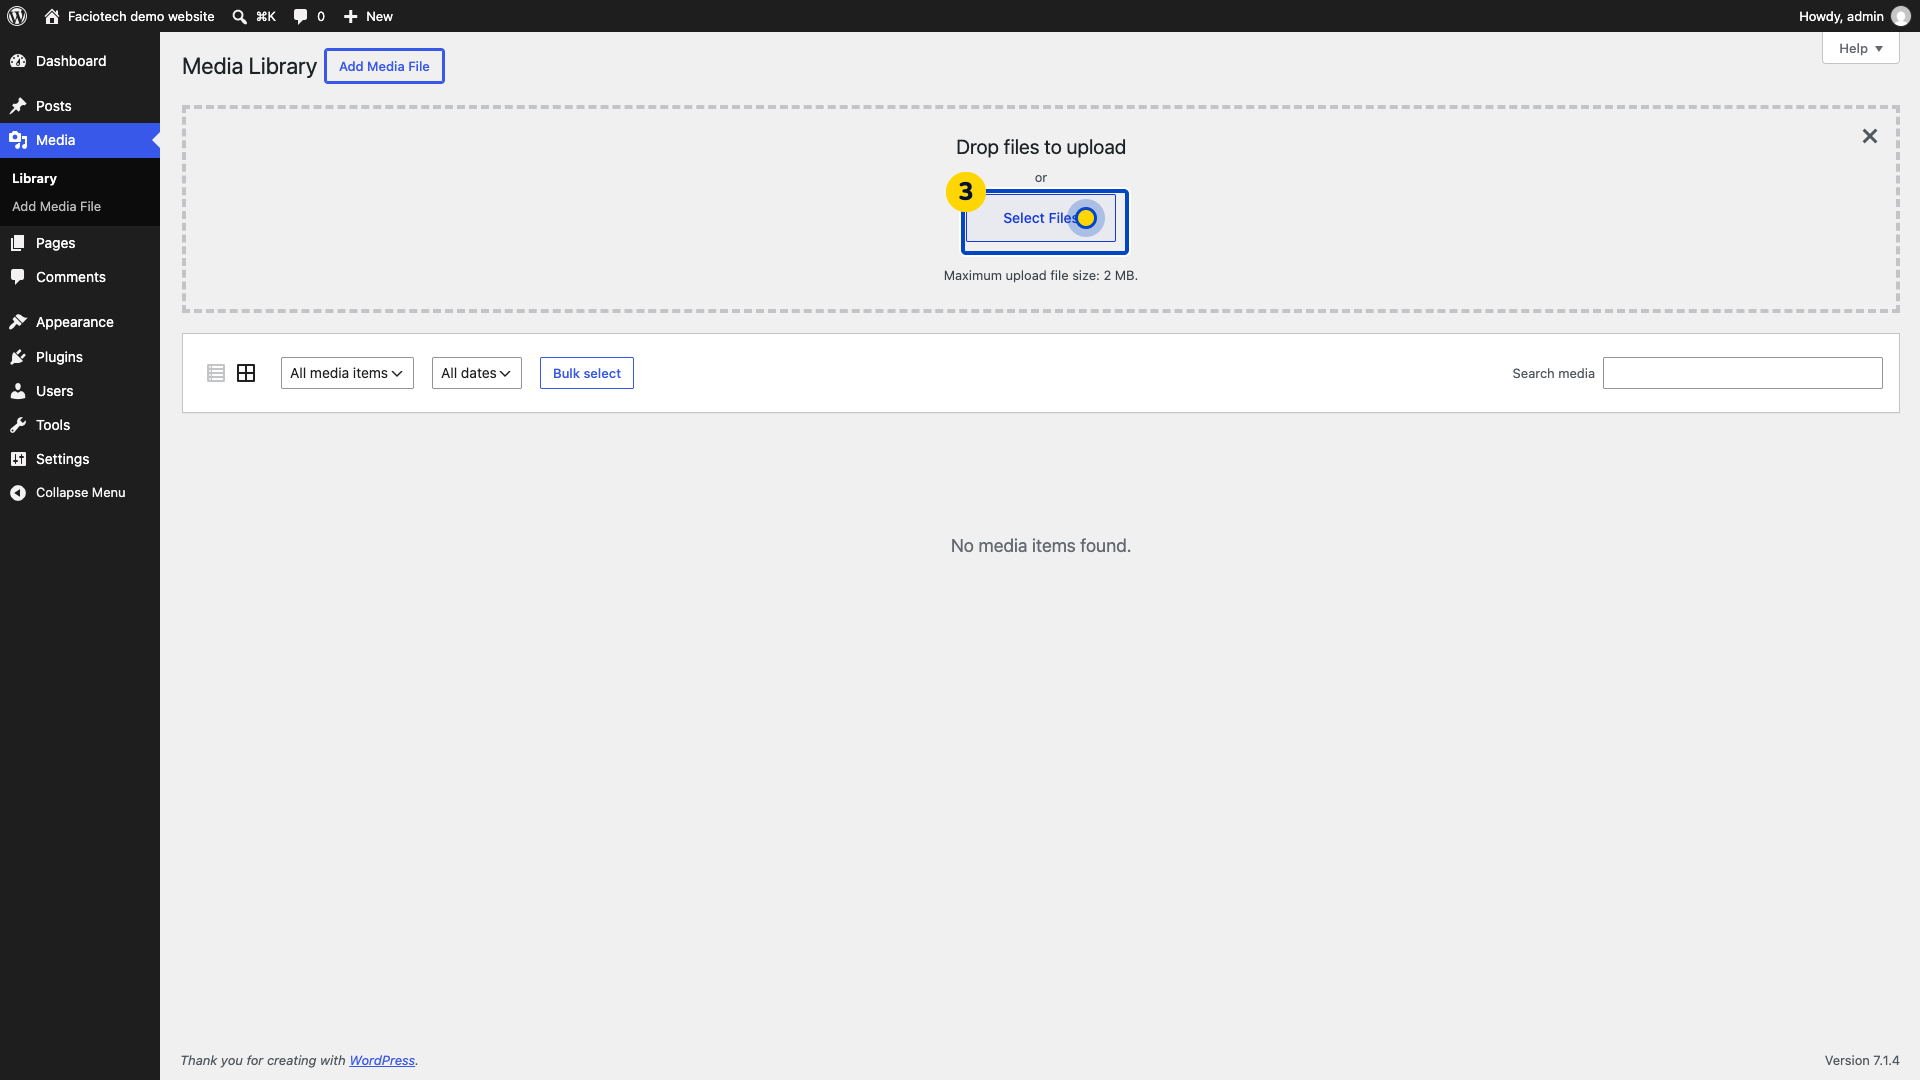
Choose Select Files. Your computer’s file chooser appears.
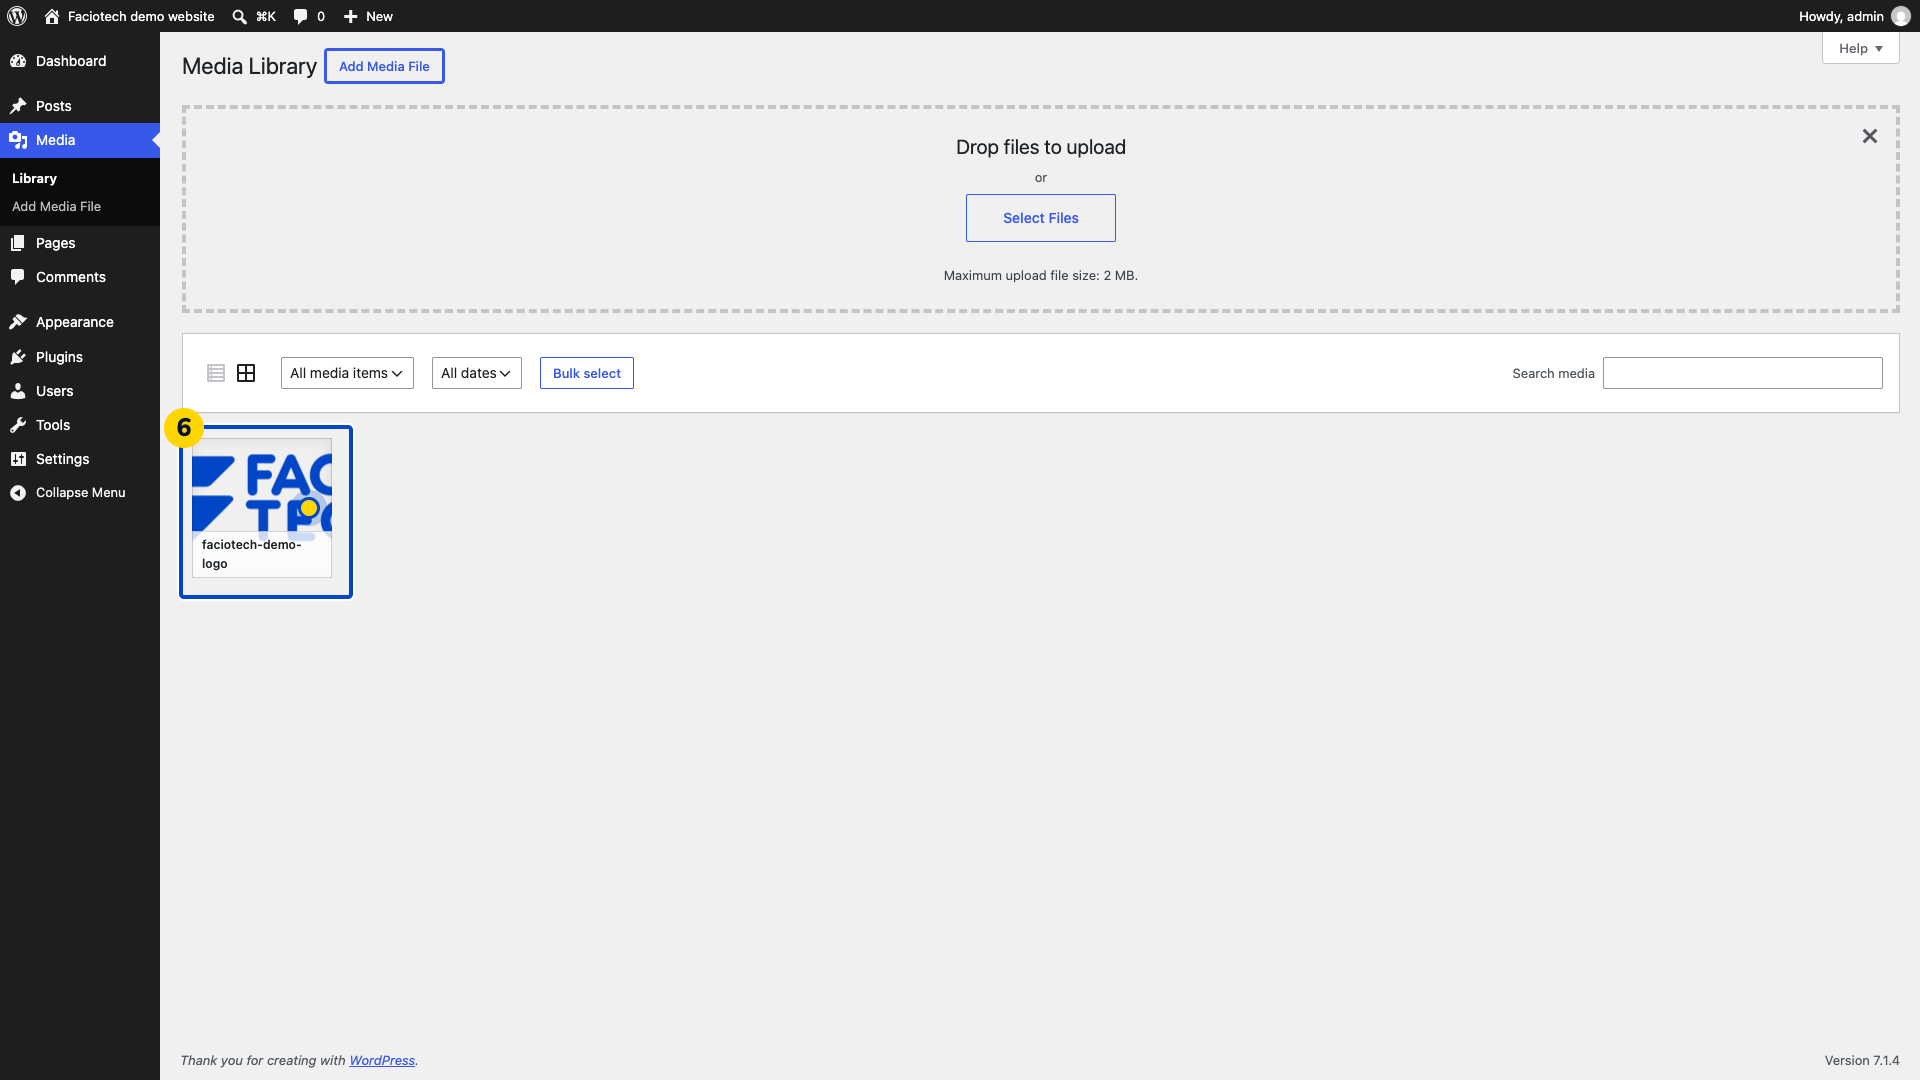
Select your image. WordPress starts uploading the selected file.
Wait for the upload to complete. The image’s thumbnail appears in the Media Library.
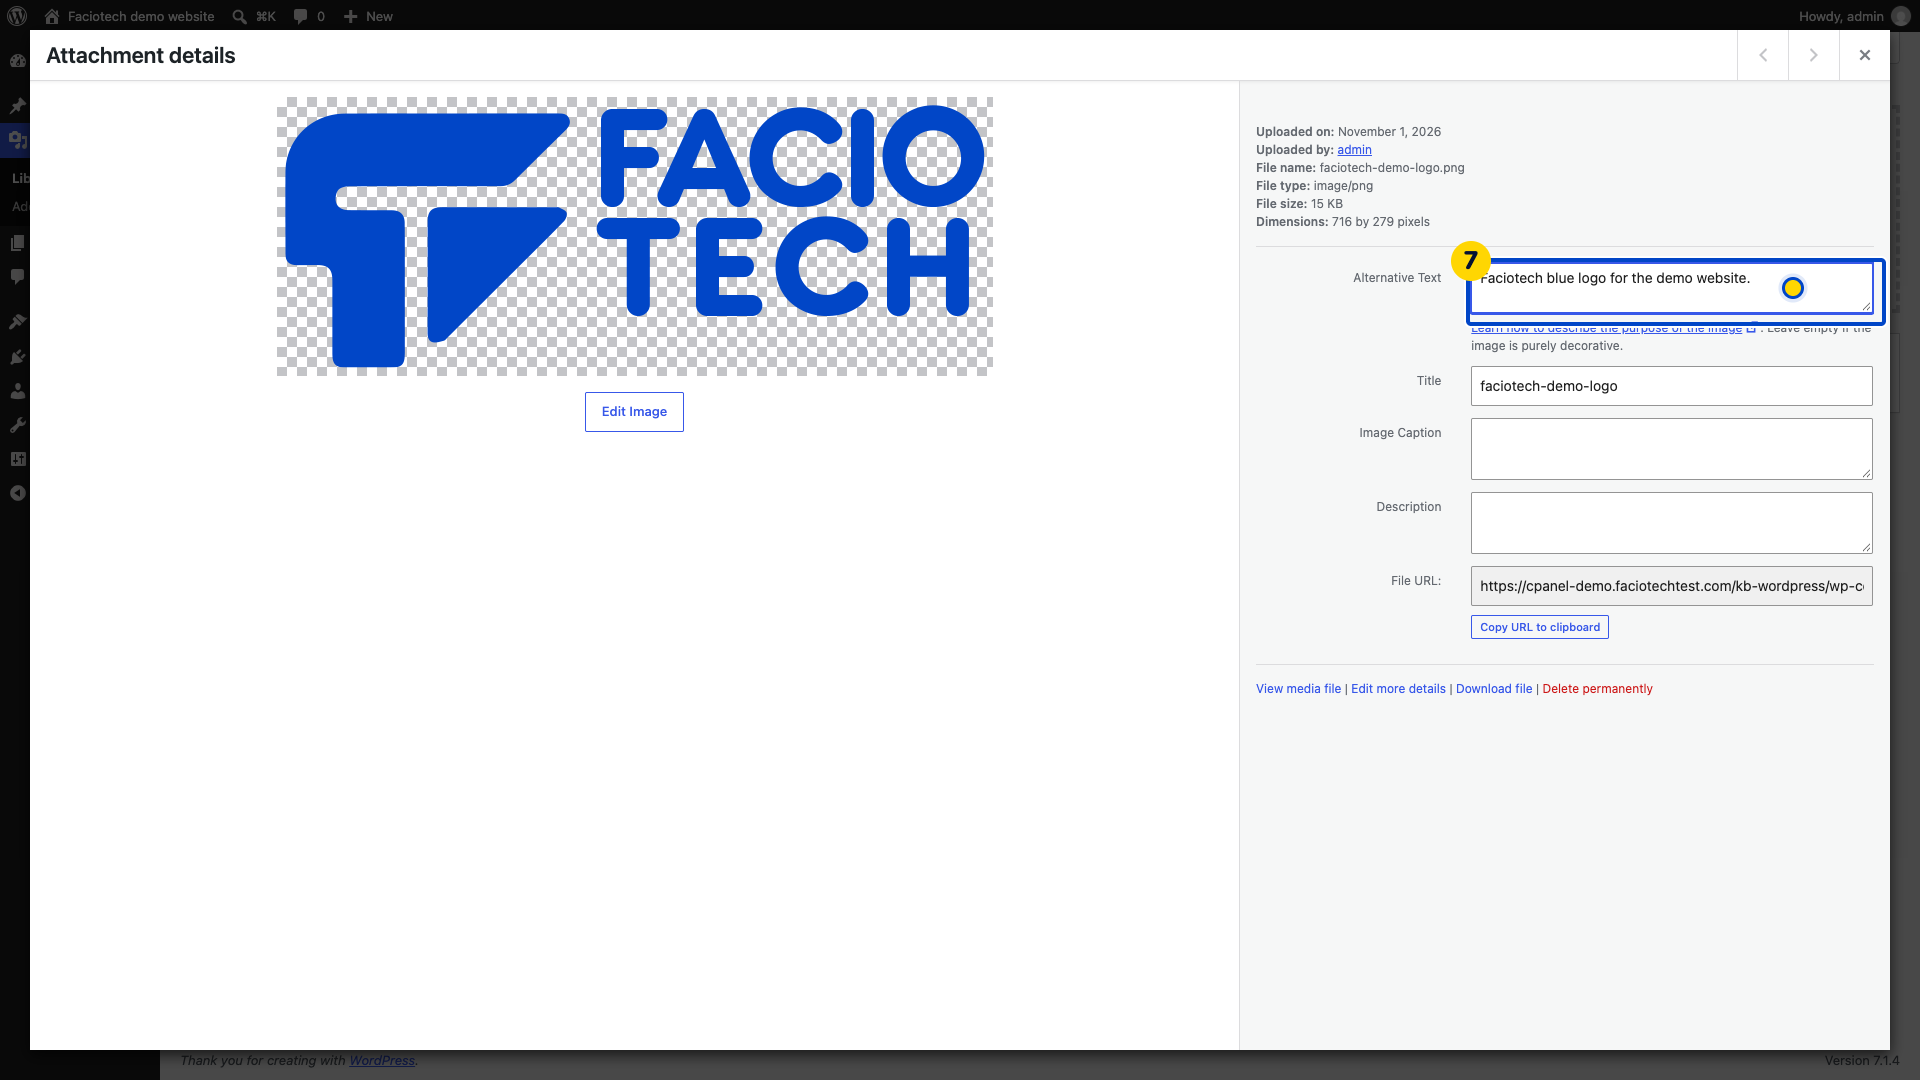
Open the uploaded image. Its attachment details appear.
Enter suitable Alternative Text. This example uses “Faciotech blue logo for the demo website.”
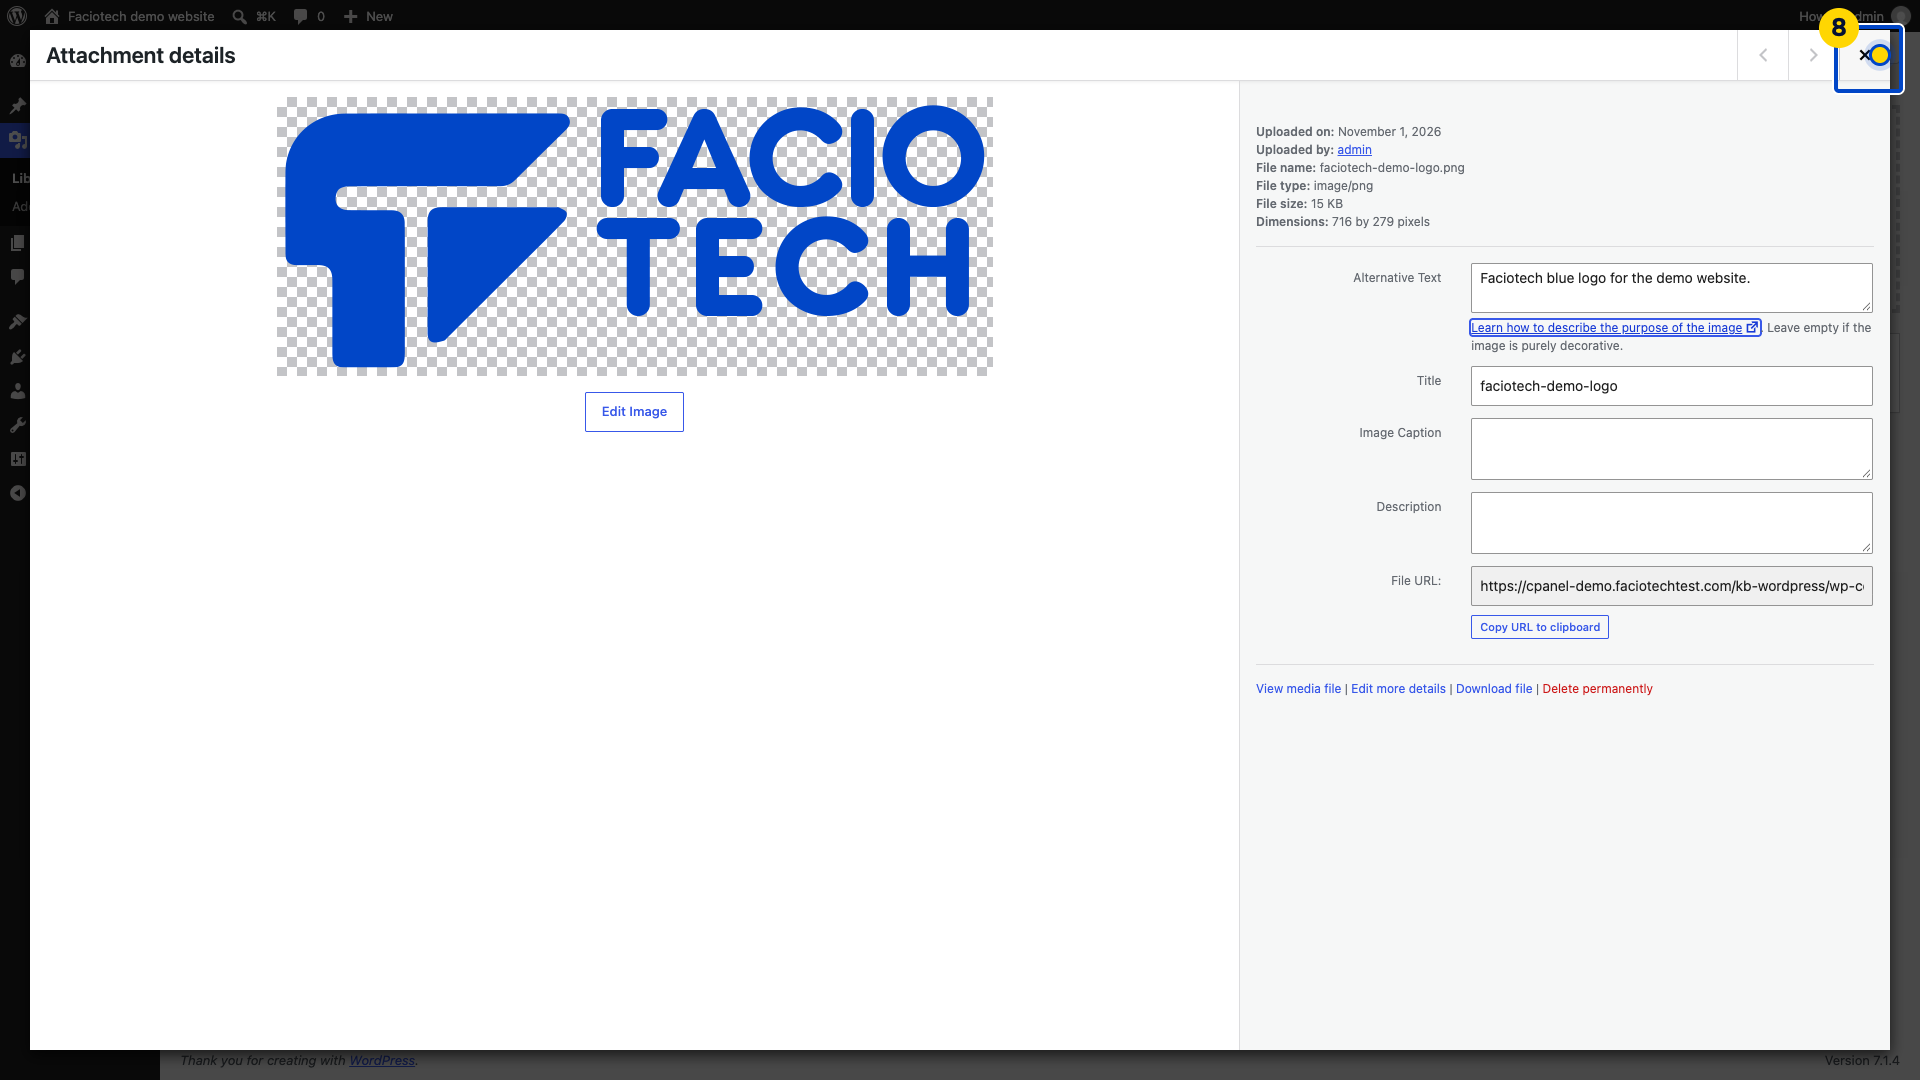
Close the details after WordPress shows Saved. The description is saved automatically after you leave the field.
Reopen the image. Check its alt text before using it on a page.
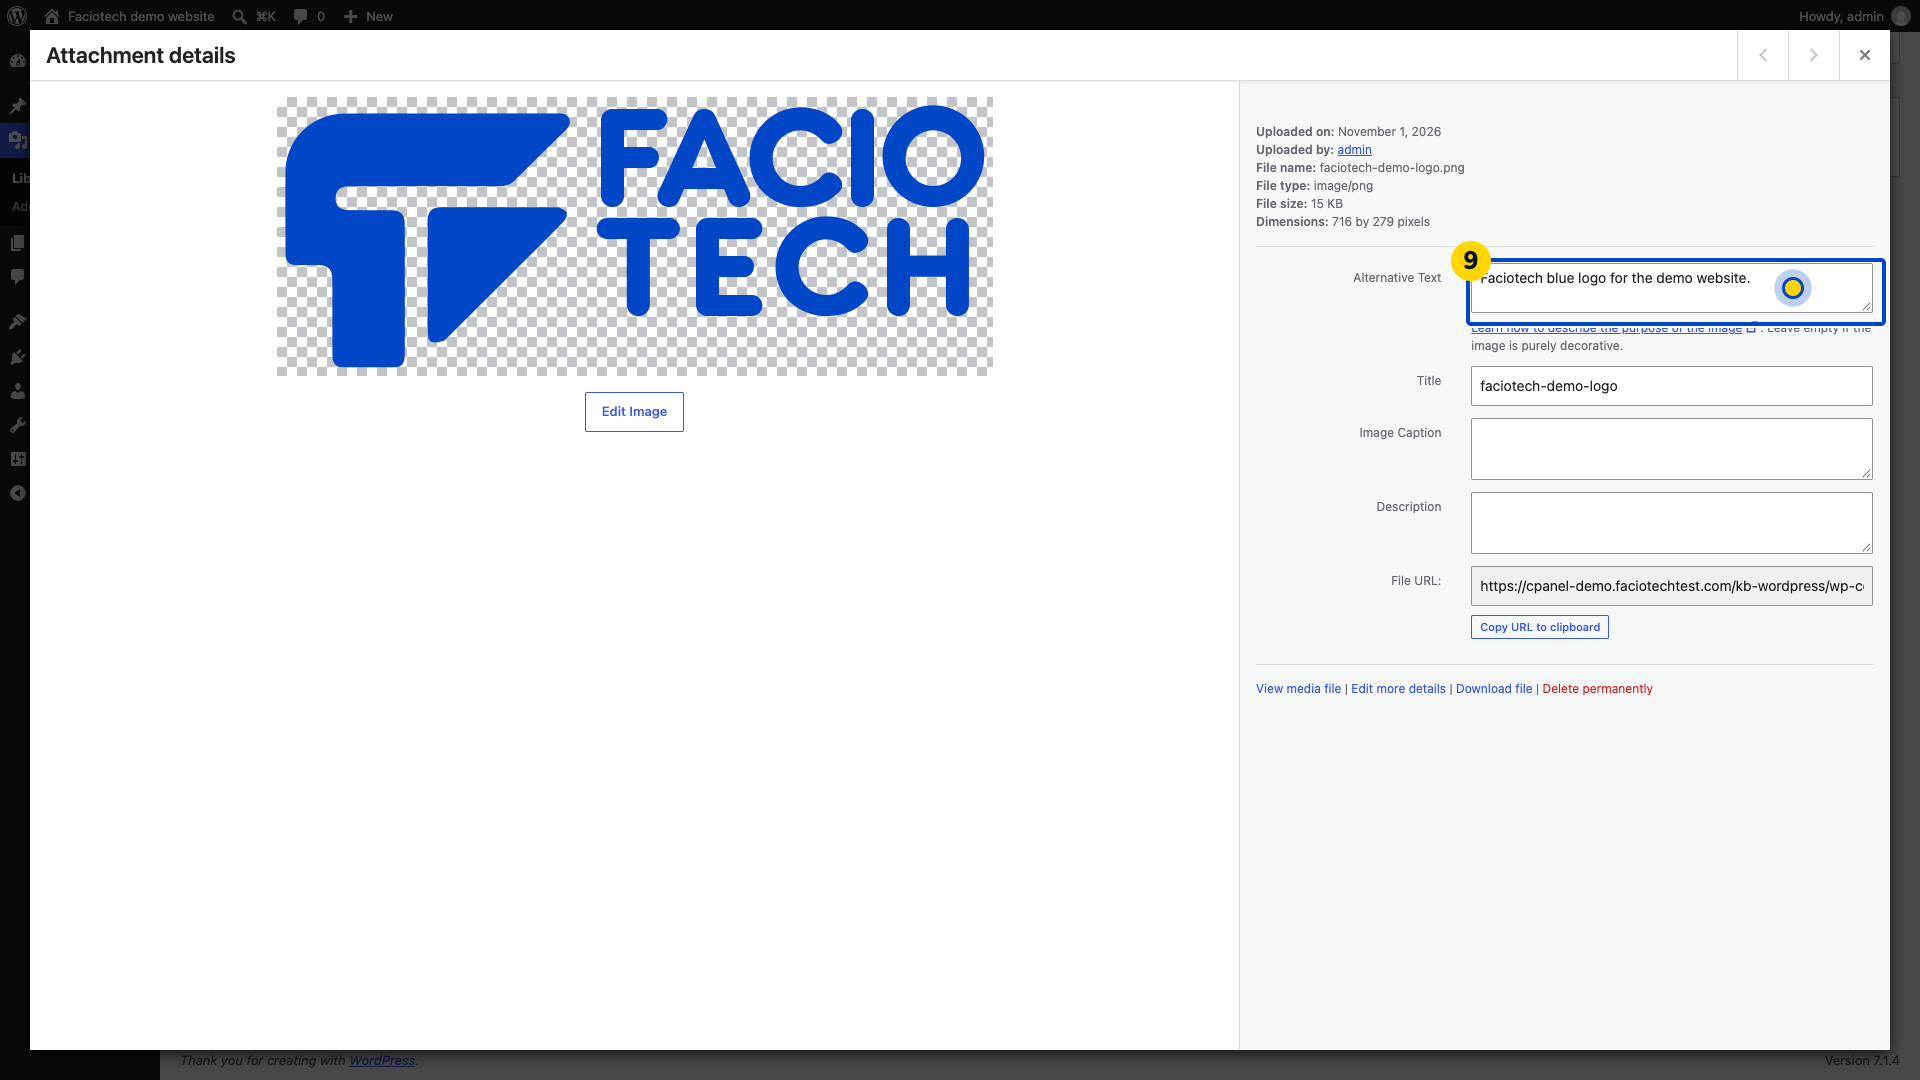
Describe what the image contributes in its page context. Leave alt text empty when an image is purely decorative.
Video walkthrough
Sources
For help, contact Faciotech support.